Google
 
Showing posts with label bread and bread rolls. Show all posts

Thursday, 29 January 2009

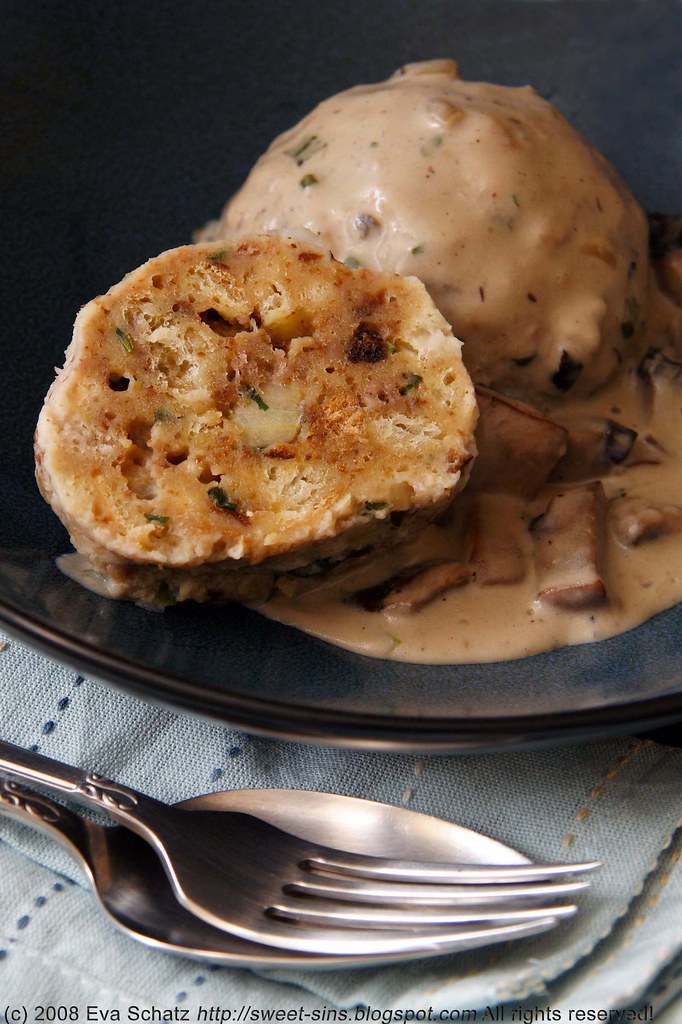
Bread Dumplings with Mushroom Sauce


During the last few days, all of Sydney has been suffering under the sweltering heat - even at night, temperatures wouldn't go down. And without a breeze lifting the suffocating blanket of humid hot air, we had to resort to the fan to be able to sleep at times.

Knowing that, bread dumplings with mushroom sauce might not be the dinner of choice at the moment, I grant you that. Admittedly, I made these in the midst of the Australian winter, some time last June, when the cold rain wouldn't stop for days - then these hearty dumplings are exactly what you need.

I was instantly reminded of them when talking to my family about the pretty rough winter they have at the moment in Europe. Usually my family lives in an area of Germany with a moderate climate so cold it might get but not bone-chillingly so. However, this year the temperatures dropped way beyond zero for quite a while. Listening to descriptions of a walk through snowy landscape while wiping away the sweat on your own brow feels quite funny!

So this one is for all the people that are currently shivering in the Northern hemisphere - enjoy and keep warm!


Bread Dumplings with Mushroom Sauce

The ingredients

Dumplings
In Sydney, I usually never have leftover bread rolls (get eaten too quickly) but leftover bread works just as well. Just make sure to cut it finely - you may have to remove very hard rinds - and let it soak long enough.

10 medium-sized bread rolls (about 500g), cut into fine slices
salt
3/8 to 1/2 l milk, warmed
2 tbsp onion, diced
plenty of chopped parsley
1 tbsp butter
4-5 eggs
1 tbsp flour

1
Put the finely cut bread rolls into a big bowl, sprinkle with salt and pour the warm milk on top. The exact amount of milk needed depends on how dry the rolls are. The drier the rolls, the more milk is needed and the longer it will take them to absorb it all. The soaking will take at least 30 minutes. Stir the mixture every now and then.

2
Gently fry the onions and parsley in the butter until softened. Note: If in a hurry, you can skip this step - the dumplings will still taste delicious.

3
Add the onions and parsley to the bread rolls, followed by the eggs and the flour. If your eggs are very big, use only four. Using a bare hand, mix together until evenly combined. If you can still feel lots of hardened bread roll pieces, let your mixture soak a little longer.

The resulting mixture will be quite soft but should not be too soggy. If it is too liquid, the dumplings won't hold their shape. If necessary add a tablespoon of bread crumbs but don't add too much at a time.

4
With wet hands, shape the dough into round dumplings. They should be about the same size to ensure even cooking. Whenever the dough begins to stick to your hands, wet your hands again in cold water.

5
While shaping bring a pot with three liters of salted water to the boil. If you're unsure about the consistency of your dumplings, put only one in the pot, reduce the temperature, and let it simmer for roughly 20 minutes. Check after a few minutes that the dumpling doesn't stick to the bottom of the pot. It will be ready when it floats on top.

If you're happy with the consistency of your trial dumpling, simmer the remaining ones. They need to have enough space to float freely so work in batches if necessary.

6
Lift out the dumplings using a slotted spoon and serve immediately with creamy mushroom sauce or a hearty meat stew.


Mushroom Sauce

Butter
Onions
Parsley
Mushrooms of your choice
Dairy of your choice

There's no recipe - it's your choice if you first sautee onions and mushrooms and then deglaze the pan with cream, sour cream, milk whatever or if you make a roux out of butter and a little flour and then go from there.
Just one bit of advice: I've long tried to make a somewhat diet-friendly mushroom sauce - forget it, it always tasted awful. I think that's one of these cases when you need to use real cream!


The source
Hedwig Maria Stuber: Ich helf Dir kochen

The hint
Making dumplings might sound a little irksome but it isn't difficult at all. I don't even bother making a trial dumpling.

If you have leftover dumplings, you can slice them up, turn in beaten egg and fry until browned. Together with a green salad, it makes for a quick and tasty lunch.

Thursday, 16 October 2008

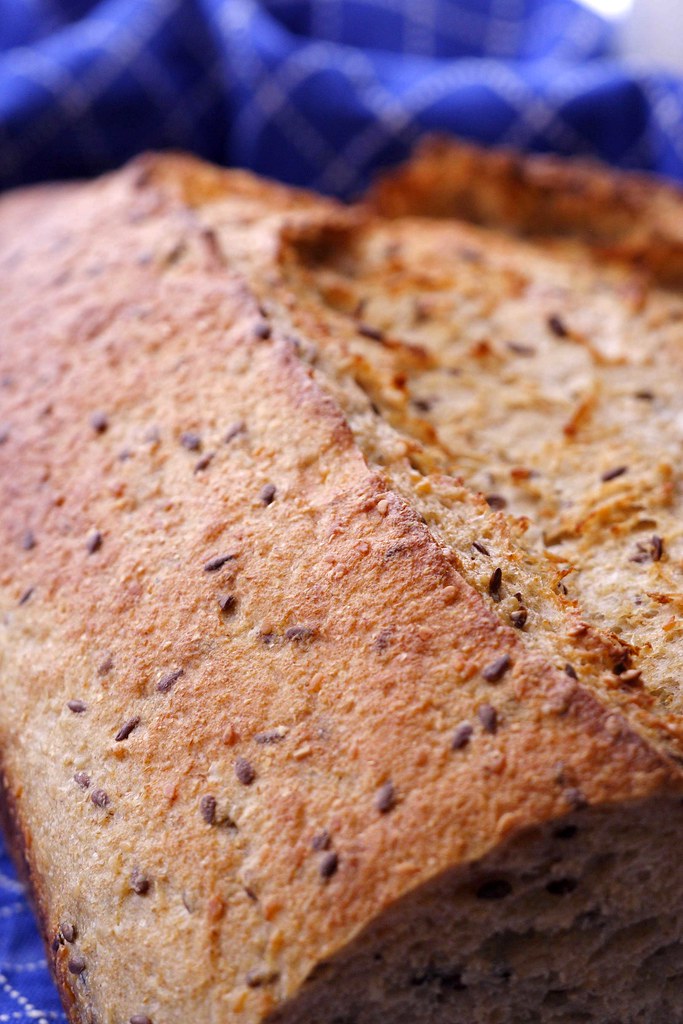
World Bread Day - German Seed Bread


People, World Bread Day is almost over (at least on this side of the earth) and I'm loaded with work but didn't want to miss out completely on this event that's created by the lovely Zorra of Kochtopf and that's very dear to me!

So this is going to be a short one. During my recent trip to Germany, I had plenty of stuff on my to-do list. Next to "meet as many friends as possible", there was "eat as many German specialties as you can possibly stomach". What shall I say, I really worked hard on that one...

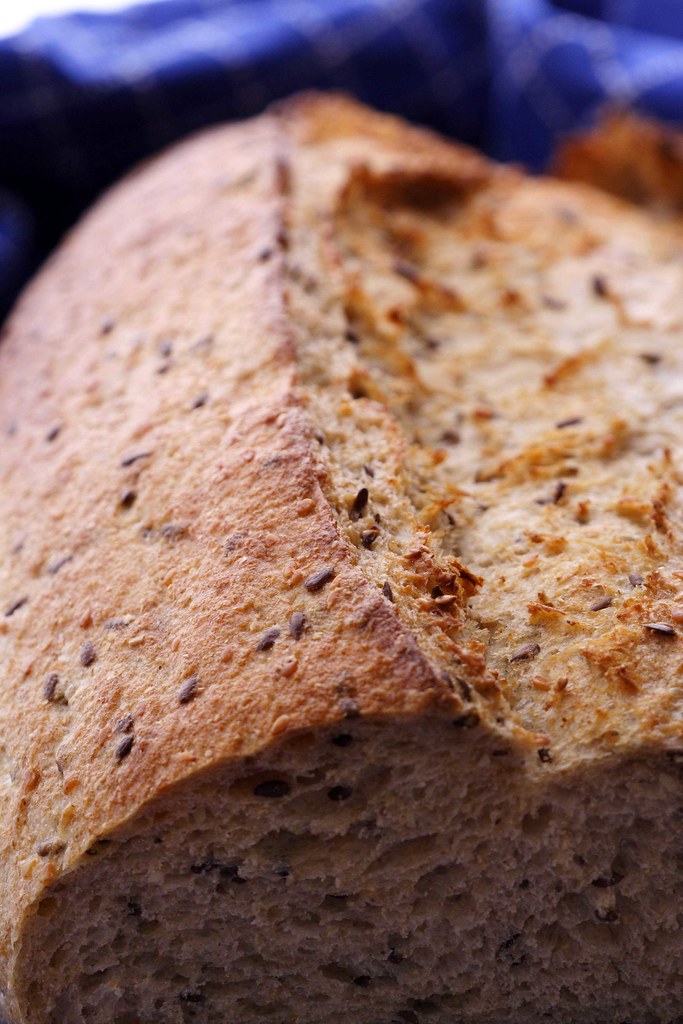
Of course, one of the most memorable things I ate (apart from an incredible number of sausages and cured meats) was a certain type of bread - full with seeds but not dense and heavy at all. Still chewing, my better half requested this particular loaf to be recreated in Sydney and who am I to deny that..;-)

I started off with this recipe from Petra of Chili and Ciabatta and made the changes following below. For non-German-speakers, just a rough summary of the procedure: let the soaker rest for 3-4 hours (covered), mix the dough, let rise until doubled, degas it while stretching and folding it 2x, shape into a loaf, let rise until nearly doubled, and bake at 220 degrees Celsius.
The dough is relatively moist and rather sticky but not too hard to work with (stretch & fold helps a lot to get a good dough structure). My version produces a soft but hearty crumb (due to the different kinds of grains and seeds) and a compact but rather soft crust. It goes well with honey, jam, and mild cheeses.

PS: The first time I made it with a mixture of sourdough and instant yeast as below, the second time around I used sourdough only but can't remember for the life of me if I therefore upped the amount of sourdough or not. Hence, I need to make it again to find out...

Seed Bread

The ingredients

Soaker:
45g flax seeds
45g rye flour
35g sesame seeds
35g rolled oats
11g salt
206g boiling water

Final dough:
180g water or whey
all of the soaker
250g wheat sourdough, 100% hydration
1tbsp honey
360g bread flour
30g wheat germ
1 tsp instant yeast
1 tbsp malted barley flour
up to 4 tbsp whole wheat flour (depending on the stickiness of the dough)

The source
Adapted from Petra of Chili&Ciabatta

Thursday, 25 September 2008

Here I am again... with Broad Beans!

Poah, that's been a long absence... Now I'm definitely happily married and will be writing more about our second go once I've got the photos - let me just just say it was w-o-n-d-e-r-f-u-l! (Meanwhile you can read about our first wedding here.)

After a long but oh-it-seemed-so-short stay, we had to kiss our families and friends good-bye and were off to Sydney. While living in this preparing-for-and-then-getting-married-bubble, one could forget that elsewhere life goes on, you're just too busy to notice. That's also true for the food blogging world - I've had a lot of catching up to do! Always amongst the first to check is Nora's Life's Smorgasbord. I had already eyed her lavender shortbread - full of envy, of course, as I always forget to look out for culinary lavender - no matter how often I've longingly read blog posts about the creative use of this herb.

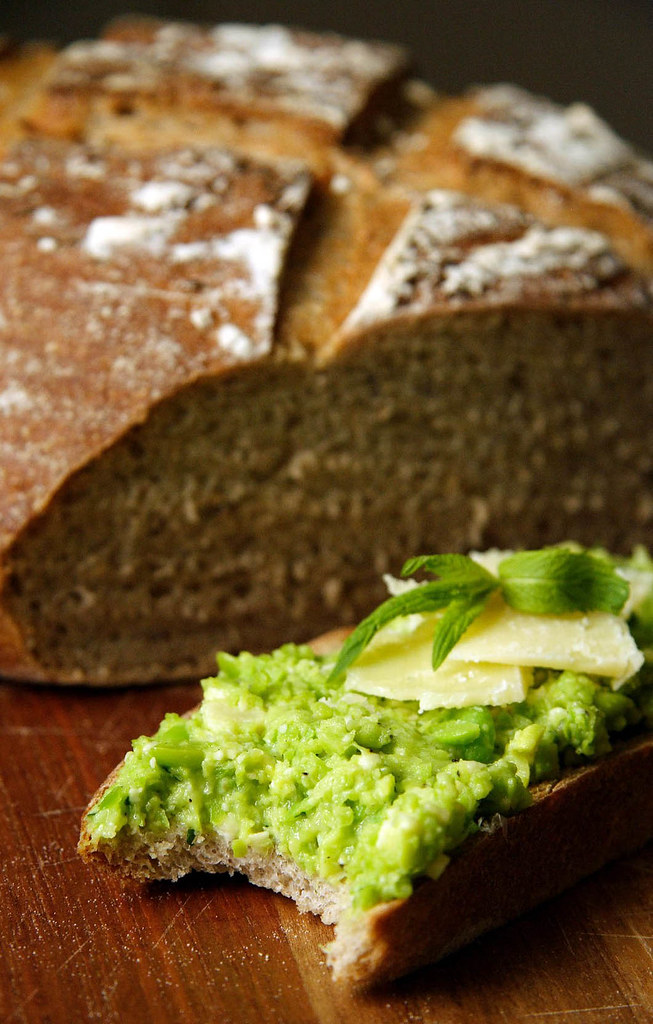
This time I read loads of stuff about broad beans that sounded utterly appetizing. What's more, Nora said that the season for broad beans is almost over! That's why I decided to do something about it now instead of saving the recipe for later (which usually means much, much later) . Off I went to the shops to buy broad beans, mint, and pecorino, and made myself a simply wonderful dinner. Granted, the whole shelling business does take a while but on the other hand it lifted my spirits to do something elaborate just for myself. With my new/old husband away on a business trip, dinners aren't such an enjoyable thing - however, these broad beans totally made my evening!


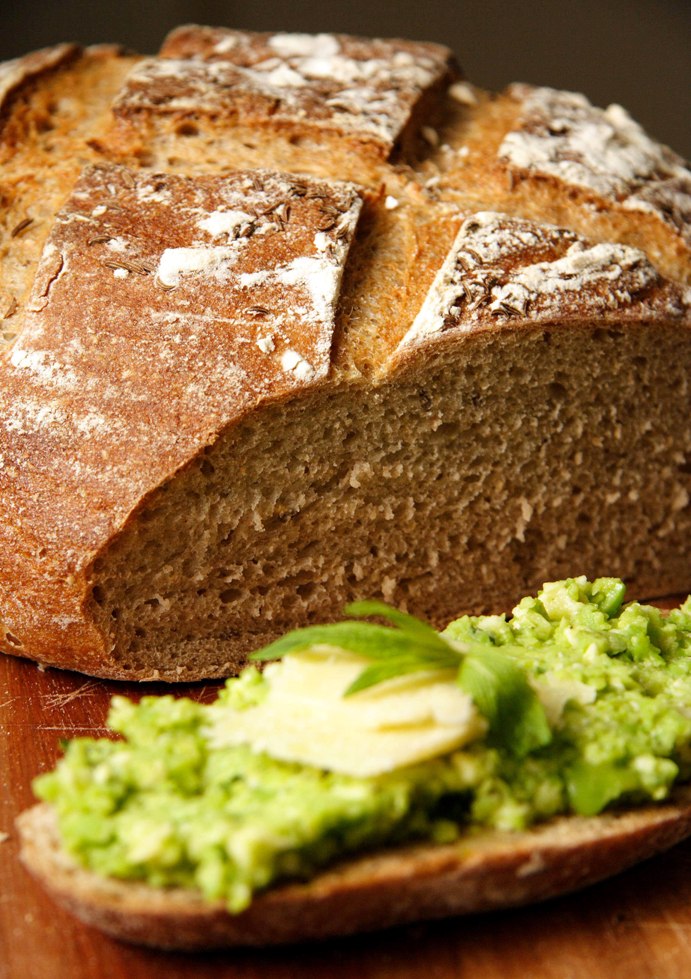
PS: Nora provided three different recipes so no need for me to type it down again (I chose Maggie Beers' version with some lemon juice added and some garlic rubbed onto the sourdough bread after toasting - lovely!). I'd rather tell you about the sourdough bread that was just baking away when I read about how to use it for dinner..;-)

Light Rye Sourdough Bread

The ingredients

250g water
360g white sourdough, 100% hydration
300g bread flour
100g rye flour
100g wholewheat flour
1.5 tsp salt (or a little more than that)
1 tbsp whole caraway seeds

1
I used my breadmaker for mixing the dough and letting it rise. The first rising was about 3 hours (the bread maker provided some warmth during the first hour). At the end of the rising time, the dough had a bit more than doubled.

2
Take the dough out of the bread maker and turn onto a lightly floured work surface. I treated it to a round of stretch&fold (for a stronger texture) and then shaped it into a round loaf.

3
Place the loaf seam side-up into a floured proofing basket (or a bowl lined with a floured tea towel). Cover and let rise until well doubled in size. This took roughly 2.5 hours. To be sure, make a light dent into to the surface of the loaf. As soon as the dough doesn't spring back completely and still shows a little dent, the loaf is ready for baking.
Meanwhile, preheat the oven with a baking sheet or pizza stone to 220 degrees Celsius (I usually use the highest setting available as I will always lose some heat during steaming).

4
Carefully unmold the loaf onto a bread peel or an upturned baking sheet (covered with parchment paper or sprinkled with cornmeal). Slash in a criss-cross pattern.
Let the loaf glide onto the hot baking sheet/pizza stone and quickly shut the door. Open once more and splash a cup of water onto the bottom of the oven - be aware of the hot steam! Again, quickly shut the door to keep heat and moisture in.

5
Bake at 220 degrees Celsius for 30 minutes. Then change to 200 degrees fan-bake for a further 15 minutes. The fan will get the remaining moisture out of the oven for a crisper crust. If you want a thicker crust, bake a little longer at 220 degrees before changing to fan-bake.

6
Let the loaf cool completely on a rack before slicing.

The source
Inspired by Dan Lepard's Barley and Rye Bread

Friday, 1 August 2008

BBD#12 - Small Breads

No, I did not throw my wildly growing sprouts into these bread rolls. Although I admit that I was mightily tempted..;-) However, with friends coming over for dinner the other night, I didn't reckon that I should subject them to an experiment with - at best - questionable outcome.

Oh well, I will come up with something eventually. But this time, I decided to rather go with the recipe of a trustworthy blogger. Having seen intricately shaped sacaduros ages ago at Chili&Ciabatta (and always wanting to make them) plus another deadline coming up all to soon - I was set for another installment of Zorra's Bread Baking Day: Aparna of My Diverse Kitchen had chosen "Small Breads" as her topic. Bread Rolls is something I make far too rarely, so I was pretty happy about this theme!

Alas, as you can see, they don't quite look like Petra's. Due to work, I needed to make the rolls the evening before and rewarm them right before dinner. That's why I decided to leave out the crucial ingredient, stupid me.

When shaping sacaduros, you put a cube of butter with a little flaky salt into the middle and fold thin strips of dough over it. While baking these strips partly unfold and get all nice and crispy, thus revealing their buttery innards. However, I was afraid that it would get all soggy when rewarmed and decided to leave out the butter. Without it, the sacaduros unfortunately turned out rather flat.

On the positive side, I was really pleased with my combination of bread flour and 70 grams of spelt flour for a hearty but still refined flavour.

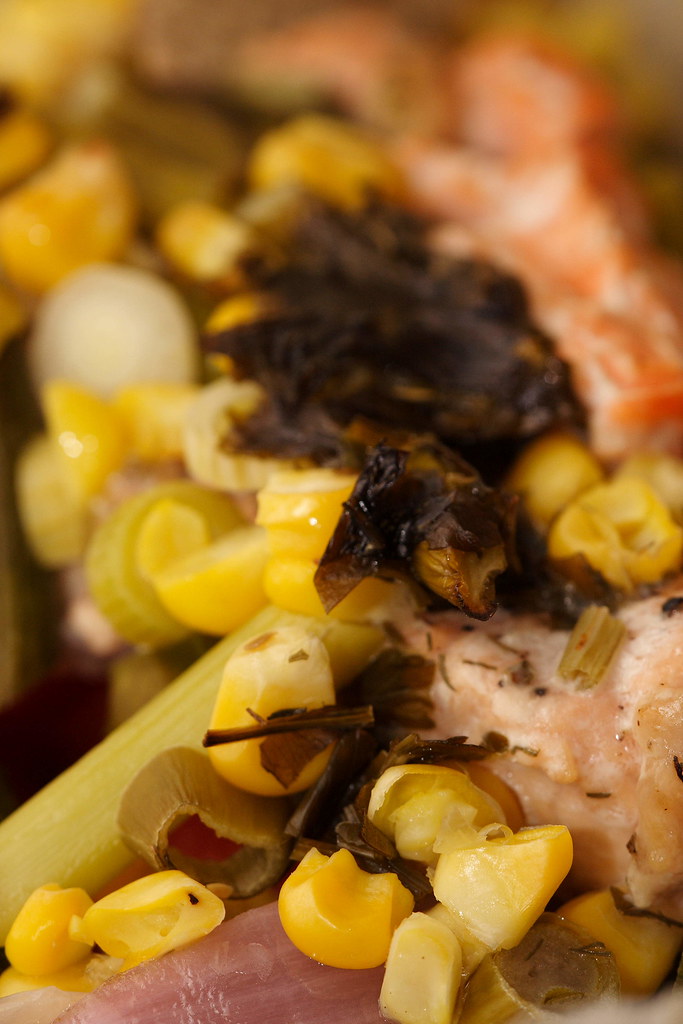
And in case you're interested, that's what we were using the bread rolls for: mopping up the juices from salmon and vegetable parchment parcels. Made with lemon juice and white wine, there was a lot of nice broth to mop up!


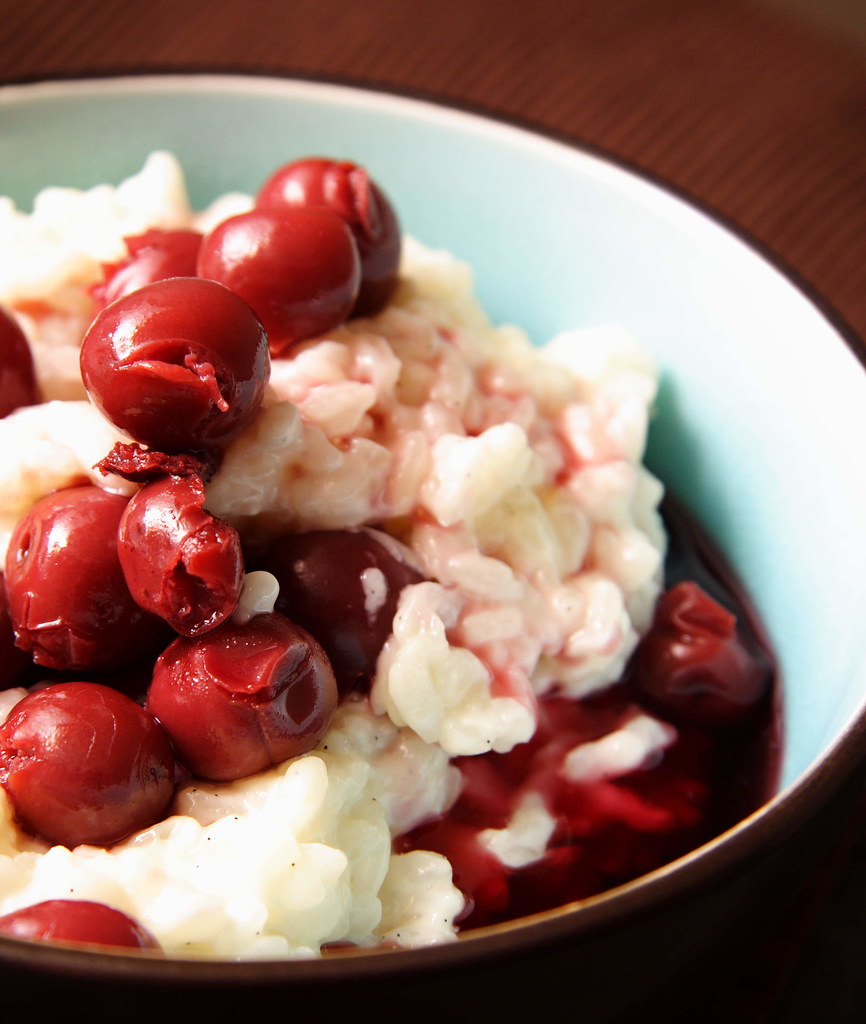
PS: As you know by now, blogging deadlines are not my forte (probably because all my energy is used up meeting professional deadlines...ok, no more excuses). Anyway, today is the national day of Switzerland, and Zorra, missing her homeland, has asked to cook something red, white, or Swiss to celebrate the day. Dutifully, I made rice pudding with canned cherries this week - and took horrible photos of the rather nice rice pudding. That's why I'm posting an old and never published photo of an equally tasty but ultimately more photogenic rice pudding. Enjoy, Zorra!

Sunday, 27 July 2008

Sprouting out of Control


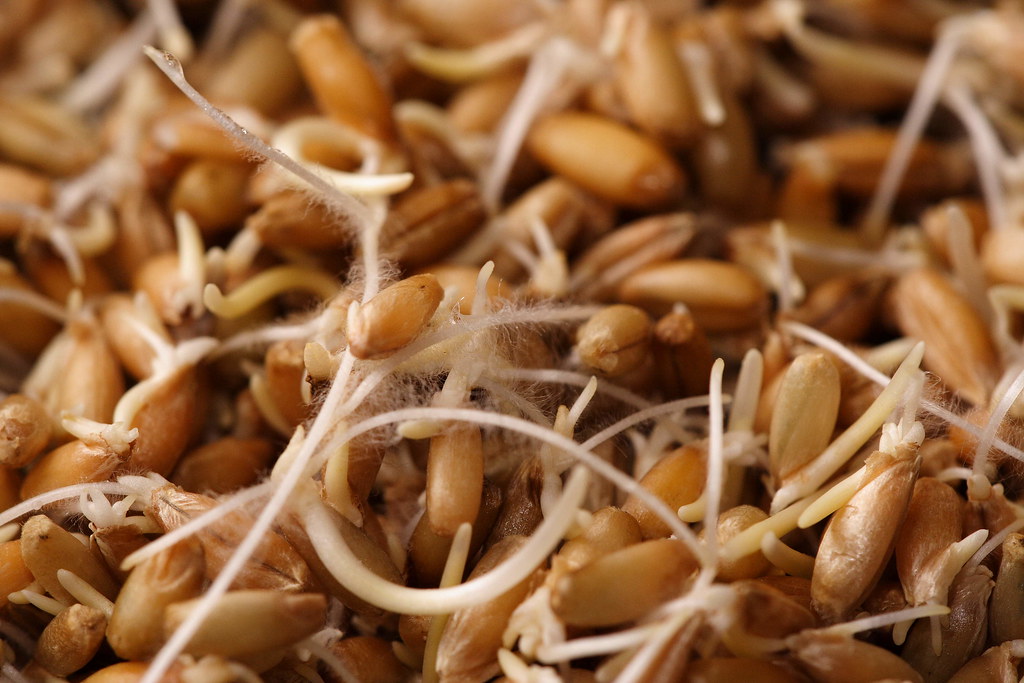
Help! A foreign life-form is taking over my fridge! It might be only a matter of days until it bursts out of the container and decides to invade the next shelf. I don't know what to do with these little critters but still can't make myself throw away something that looks so decidedly alive. Didn't dare opening the lid though - you never know what you might unleash...

It all started with Zorra's Bread Baking Day #11 which made us sprout seeds or grains. At first, I wasn't sure if my rye berries would sprout at all. Then I forgot about the deadline of the event and suddenly these little critters looked like this. I suspected they had started to get mouldy but when inspecting the photos a bit more thoroughly, it just looked like little hairs growing along the sprouts.

With a lot of work looming on the horizon and no idea if the sprouts were still edible or not, I just put them back into the fridge. Being a freelance journalist, I was so busy preparing for and then writing about World Youth Day in Sydney that I again forgot about this little project (sadly, this seems to be a reoccurring theme these days). Now, the last pilgrims have left Australia and these sprouts are still inhabiting my fridge. And I'm still at a loss what to do with them...

Monday, 7 July 2008

Sprouted Rye Berries or how to forget about a deadline

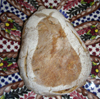
Sorry - I know this photo is anything but mouth-watering... However, it shows my first ever attempt at sprouting grains. Thanks to this helpful fellow food blogger, I got some much needed advise on this topic. Unfortunately, due to a work project I completely forgot about the little buggers - until they looked like that.

Having first worried about my rye berries not wanting to sprout at all, they obviously proved me wrong about their ability to jump to life when watered. Little did I know that they would even continue to sprout when placed in a dry container in the fridge. By then, the deadline to this food blog event was almost over and I wasn't sure at all if these little guys were still edible. Frankly, this whole sprouting business is still a bit of a mystery to me... However, if you want to learn more about it, have a look at this!

In the end, I decided to give last month's Bread Baking Day a miss - sorry Zorra - but do check all the truly brave bakers who conquered the topic, sprouting and all! I'll be back with the July edition that doesn't scare me half as much as the last one! Maybe I'll finally learn how to bake perfectly crusty bread rolls!

Saturday, 31 May 2008

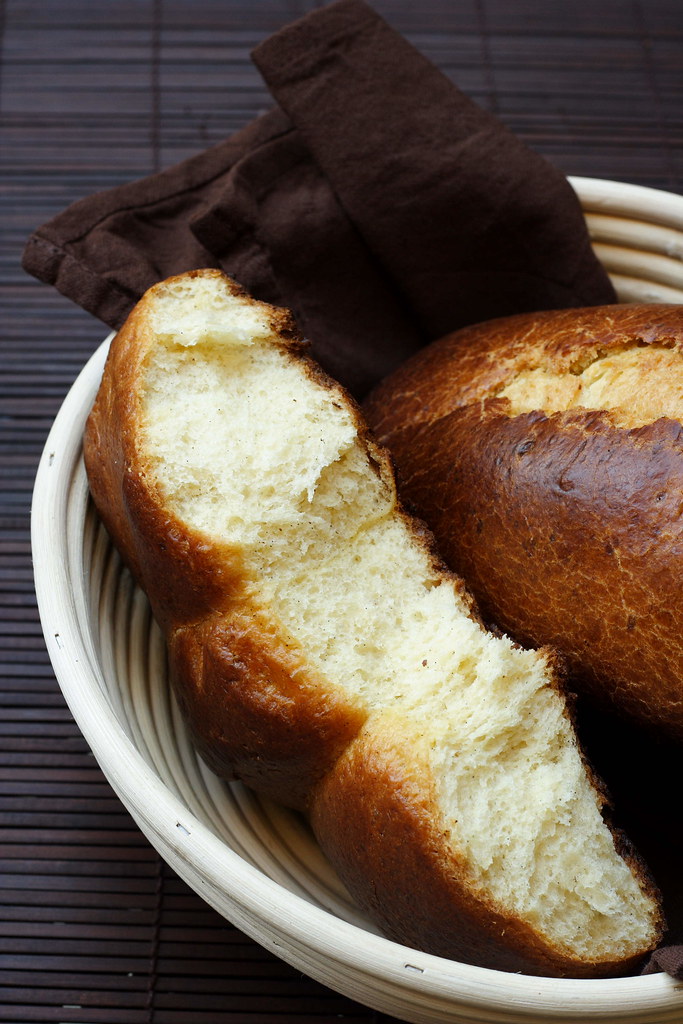
Best Brioche ever…


…says Melissa of Traveler’s Lunchbox. And I can’t tell you how right she is. When I saw her recipe for the first time – in August 2006 – I knew I had to make it some day. Due to its rather elaborate nature…well, let’s not make excuses. Fact is that this particular recipe sounded so promising that it would pop up in my memory every now and then, reminding me of “You need to make this”. And this can’t be said of all the recipes I’ve saved over the years.

I’ve always been in love with all sorts of yeast dough, especially when having it for breakfast with a thick smear of butter and creamy honey on top. Funny enough, until today I had never made a real brioche. However, a similarbreakfast treat always was kind of a by-product when churning out trays full of sweat yeast dough covered in fruit and streusel.

Only once per year we would eat something bakery-bought that’s similar to brioche – it’s called “Spitzl”, a regional specialty known only in the Upper Palatinate (of course, this is a severe case of "same same but different" as these kinds of sweet yeast bread exist allover Europe - but let's not digress). The sweet yeast bread I'm talking about is rich, soft, and speckled with raisins. It's traditionally a present from godfather or godmother to their respective godchild given on All Saints’ Day. Naturally, the one who got the longest braid (up to a meter or so) would have the coolest godmother or godfather of all.

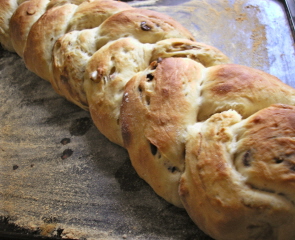
Whilst I wouldn’t say that the taste of these braids surpassed the flavour of our home-made goods, they had one big advantage: Their texture was singularly beautiful – when pulling apart or biting into it, the bread would separate into long strands rather than small crumbs. For some reason that was unknown to me back then, I was never able to achieve this superior texture when baking at home.

Hence my enthusiasm when I saw Melissa's recipe claiming to have solved the mystery. I followed her instructions to the t which resulted in the most shiny, satiny, velvety smooth, and super-elastic yeast dough I’ve ever made. By the way, her technique of browning the butter with the specks of two vanilla beans filled the entire kitchen with such an enticing smell that I could hardly hold myself back - all I wanted was diving right into that perfumed butter, with a big spoon, that's how good it was.

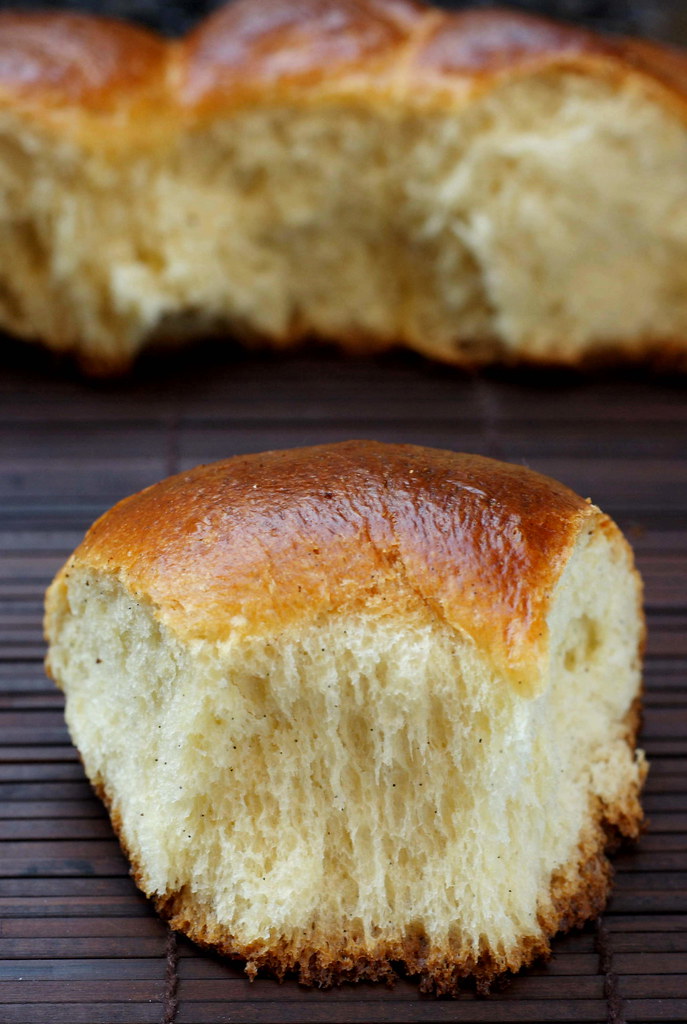
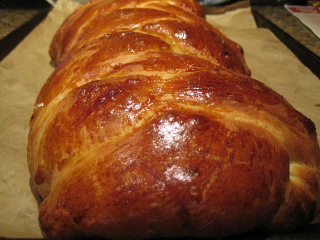
Luckily, I managed not to do anything silly and, the next day, pulled two shiny, golden brown loaves out of the oven. Unfortunately, I did not have my camera with me and had to wait a day before taking pictures. As Melissa says, the brioche is best eaten on the day it is made, and the texture will change with time. That's why the photo above doesn't really show these sublime strands of dough anymore. But I swear they were there - just go and try for yourself!

PS: Although this brioche isn't my regular breakfast fare, I wish it was and that's why I submit it to Bread Baking Day #10 - a food blogging event invented by Zorra and this month hosted by BakingASweetLife.

Friday, 29 February 2008

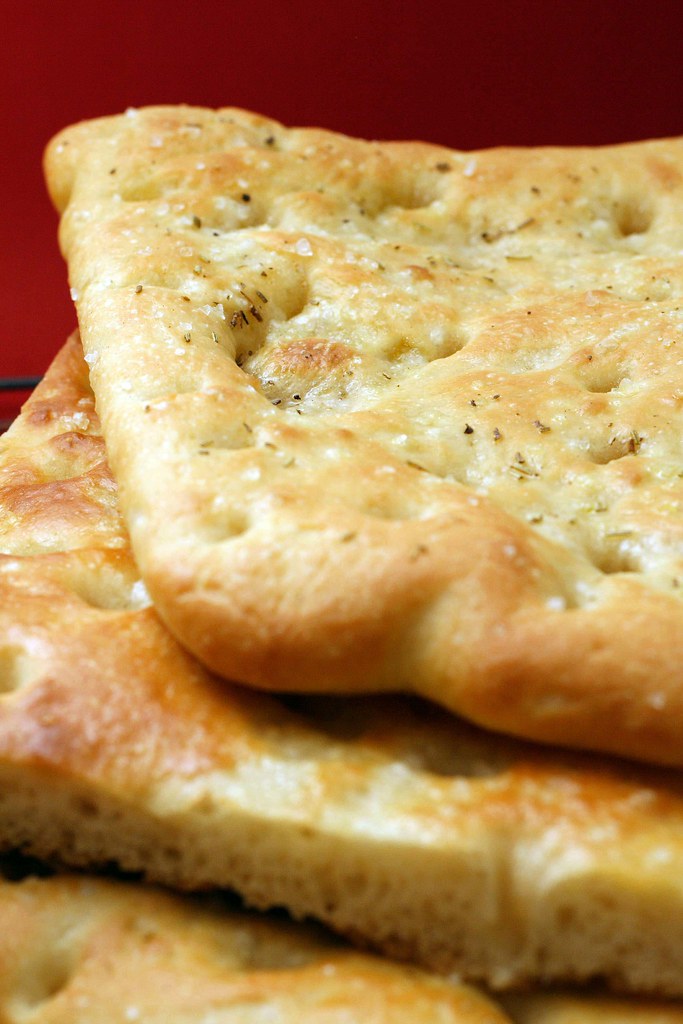
Focaccia - at last

Focaccia isn't known as the most complicated bread recipe in the world. Maybe that's the reason why it took me a long time to try for myself. What could possibly go wrong with a straight yeast dough baked on a sheet until golden-brown and crispy? Well, a lot - as I had to find out a couple of months ago. Despite following the recipe of a well-trusted online source to the letter including an overnight rest in the fridge, my focaccia was rather bland with a weird texture and a weird look to it, too.

Not wanting to admit defeat, I decided to forget about this project unti I read the announcement for Bread Baking Day #7 over at Chili&Ciabatta: With the chosen topic of flatbreads, I suddenly felt the urge to redeem myself. And with "The Italian Baker" by Carol Field freshly borrowed from the library, it almost seemed like a hint of fate.

Luckily, this time everything went well and I can report that making focaccia isn't going to give me doubts about my bread baking abilities anymore. Carol Field's recipe yields a tender and crusty focaccia that is perfect for picnics and should you happen to have leftovers, it also makes a very good pappa al pomodoro.
However, I still don't know why it didn't work out the first time...

PS: I so want to participate in Bread Baking Day #7 - a food blogging event created by Zorra of 1x umruehren bitte - but as I'm already far too late, we'll see if Petra can still add me to her round-up...


Herbed Focaccia

The ingredients

2 1/2 active dry yeast or 18g fresh yeast
1/4 cup warm water for dissolving the yeast
2 1/4 cups plus 1-2 tbsp water, at room temperature
2 tbsp olive oil
1kg bread flour
1 tbsp or 15g salt

For the topping:
olive oil, coarse sea salt, herbs

The yield
Makes enough dough for two baking sheets (not completely covered with dough) or three big round focacce

1
Stir active dry yeast into warm water to dissolve. Let stand for 10 minutes.

2
Using a big bowl and a wooden spoon, mix all the ingredients together but hold back a little of the water to adjust dough consistency. The dough will come together as a lumpy mass.

3
Depending on your preferences, either lightly oil or flour your work surface and knead the dough 8 to 10 minutes until velvety and soft. I like to give the dough a 20 minutes break in the middle with shortens the kneading time quite a bit.

4
To test if the gluten is properly developped, I do my own kind of windowpane test. Similar to shaping a pizza, I hold up the dough ball and let it stretch over my hands mainly due to its own weight while rotating it a little bit. That way, the dough gets stretched gently until you can really look through it.
The regular way of doing a windowpane test is pulling off a piece and stretching that until it ressembles a thin sheet of dough. That way, my dough always tears, no matter how long I've kneaded it.

5
For the first rise, put the dough into a lightly oiled bowl, cover with foil, and let rise until doubled (1.5 hours).

6
Cut the dough into how many pieces of focaccia you want to make and gently stretch them to cover your prepared baking sheets. Cover the dough with kitchen towels or foil to prevent it from drying out and let rest for 30 minutes.
Meanwhile you can prepare herbed olive oil by heating oil and your favourite mix of fresh or dried herbs until warm. Do not let it come to a boil. Let the herbs steep until you're ready to top your flatbreads.

7
Dimple the dough with your fingertips. These little dips will hold the pools of olive oil, herbs, and salt during the bake. Cover again and let rise until doubled (2 hours).

Preheat the oven to 200 degrees Celsius, preferably using a baking stone.

8
Using a pastry brush, top the focaccia with (herbed) olive oil. Sprinkle with coarse sea salt. Put into the hot oven and bake for 20-25 minutes. During the first 5 minutes, splash water on the bottom to create steam.

The source
Adapted from Carol Field: The Italian Baker

The hint
If you have to bake both baking sheets at once, make sure to switch them around after half of the baking time is over. Baking several sheets at once without using the fan-bake option isn't ideal though. If one of your focacce doesn't brown well, you can use the grill for the last one or two minutes but you'll have to watch it closely. Otherwise the thinner parts will get very dark very quickly...

Daring Bakers: A Tribute to Julia Child


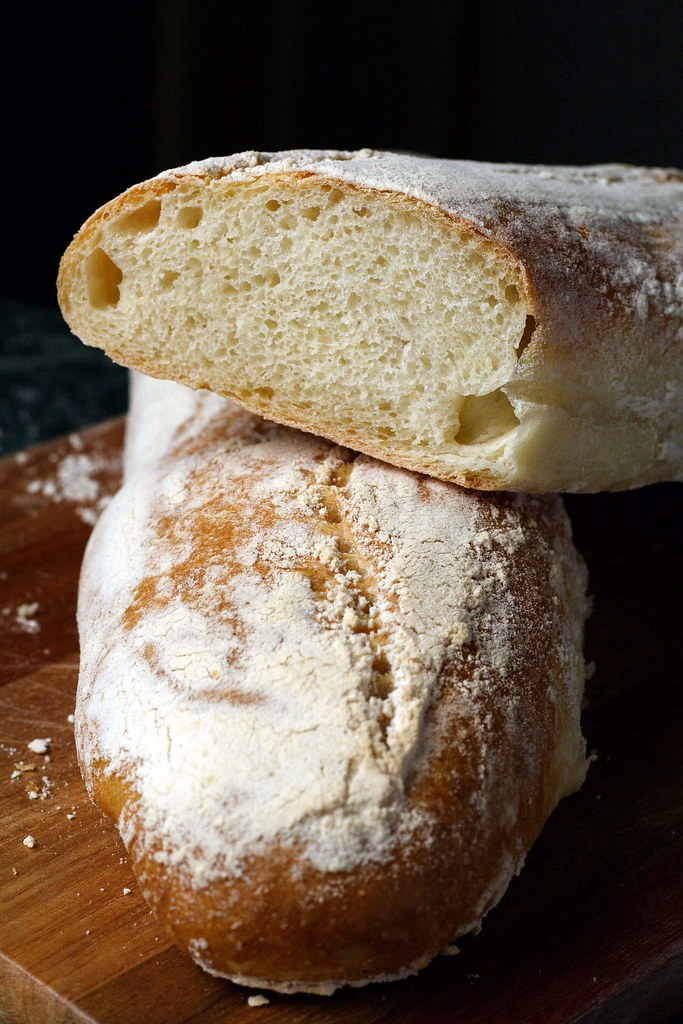
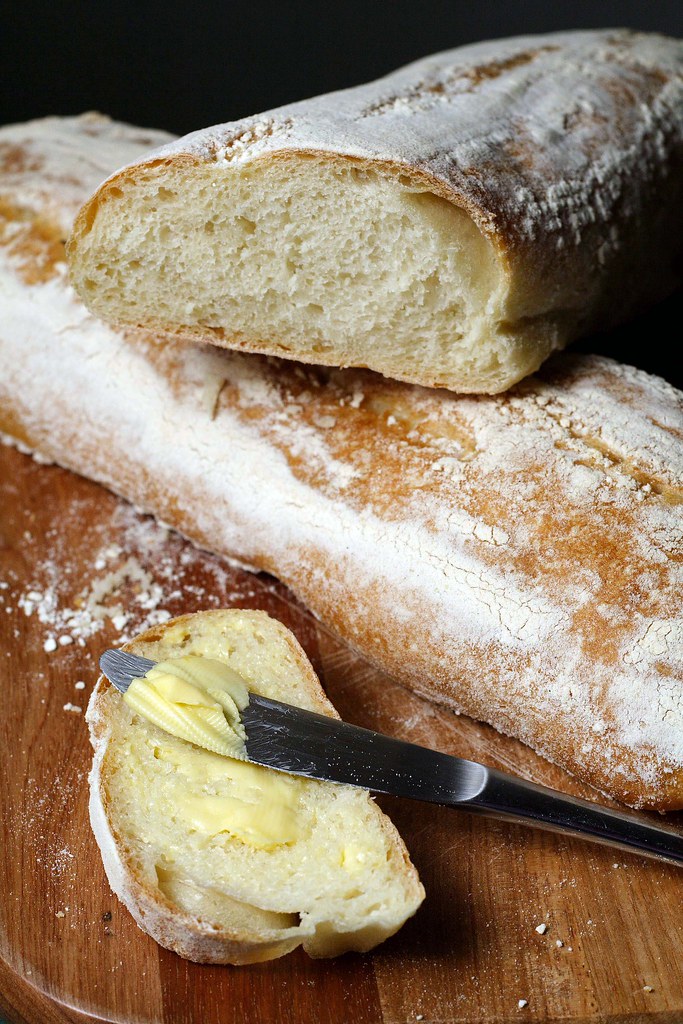
It's time for another Daring Bakers' Challenge - this time, just reading the recipe proved to be a real challenge: To reproduce Julia Child's version of French Bread, you have to work your way through not one or two but a staggering 15 pages. Making the bread was a lengthy process, too, that required three rising times. That said, the recipe wasn't difficult at all and the result was well worth the effort. Due to a rather frantic schedule, I made it quite a while ago knowing that there wouldn't be any time for baking adventures later in the month. That hasn't changed yet (not much cooking and even less blogging going on here at the moment as you might have noticed), so please forgive me if I keep this one short. (There's even another bread baking event closing tomorrow where I've participated but nothing's posted yet...)

I'm really glad that our hosts, Breadchick and Sara, chose this particular recipe. Otherwise, I would never have known that simple all-purpose flour makes for such a lovely loaf! What impressed me the most was its keeping quality: Even with no pre-ferment or sourdough involved, it still tasted perfect after two days. I think one of the two loafs made it to a fourth day or so, got turned into toast, and then his life span was definitely over. Despite the long time from start to finish, the recipe doesn't require a lot of work and I quite enjoyed the long kneading time. Usually, I would stop in between and give the dough a rest which shortens the kneading time quite a bit.

I thoroughly enjoyed this bread - keep those bread challenges coming!

You can check out the recipe here and don't forget to visit all (ok, some of the 500something) of the Daring Bakers as well as our non-blogging members.


Saturday, 9 February 2008

Sorry!

Not so sure if I really deserve all your nice comments about being a good BBD-host... After reading Helen's comment, I realized that having two different email accounts merged together also means having two different spam folders that should be checked...
At least there's one good thing about it, the list of BBD#6-entries has grown to a whopping 43 posts. I will add the two new ones asap! Sorry about that!

And here they finally are:

Allie of the world is getting better offers an unusual flavour combination with her Pear Buckwheat Bread. The dried pear pieces are re-hydrated in white wine and toasted walnuts enhance the nutty quality of the buckwheat flavour.


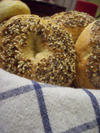
Mary of Shazam in the Kitchen tried her hands on bagels, dipped in a rich seed mixture including caraway, sesame, poppy seeds, garlic, salt and pepper.


I'm really sorry for the long delay, guys!

Tuesday, 5 February 2008

BBD#6 - The Round-Up - Part Two

After carefully checking my mailbox, I've found some more entries for BBD#6 - 41 altogether! (Please let me know if I still missed something...) The second part of the BBD#6 has a lot to offer and starts off with something that could well be the inofficial logo of this month's theme:

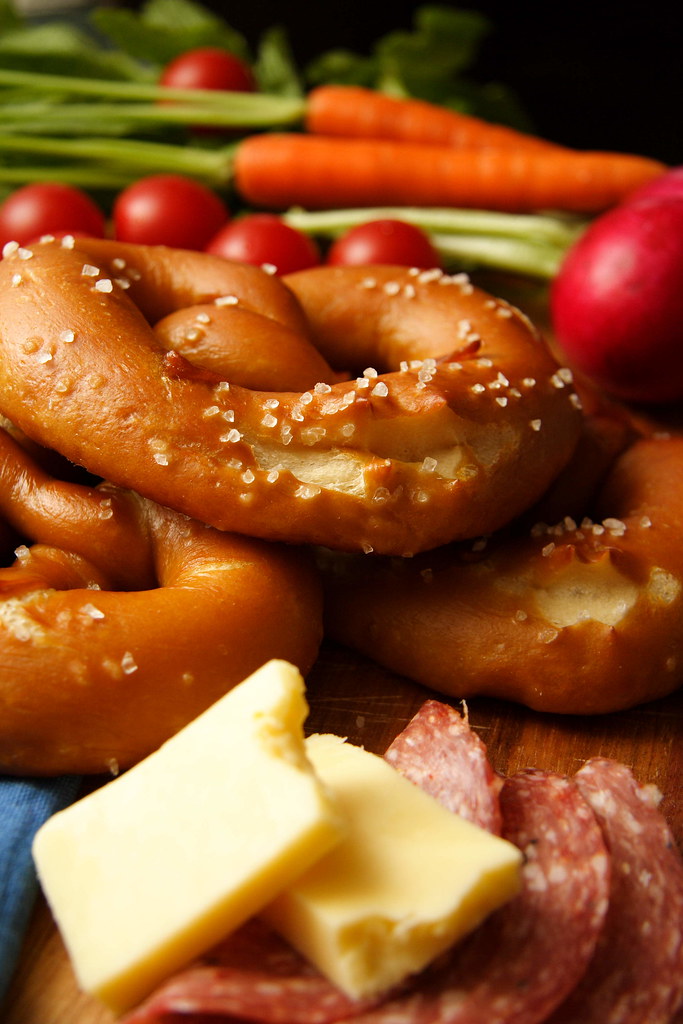
Bron of Bron Marshall took the theme literally and shaped B R E A D using pretzel dough. Needless to say, her letters look as perfect as her pretzels!


Note: I've got one more entry to add!

If you're looking for a healthy alternative to croissants, head over to Baking History and try her Vienna Rolls! Little dots of cold butter are incorporated into the bread dough and make for a flaky, crusty result.


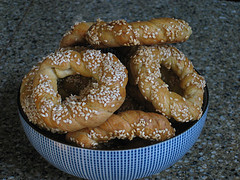
K of Bread/Pain created Syrian-style twisted cracker rings with a nutty sesame topping.


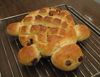
Wanna see a super-cute chubby turtle made out of bread dough and with chocolate chunk eyes? Head over to Marija of Palachinka!


L of Lemonpi opted for pretzels (a choice I can understand very well!). However, she tried a sweet version from Finnland called Viipurinrinkeli - with such a cute name, it's a must-try!


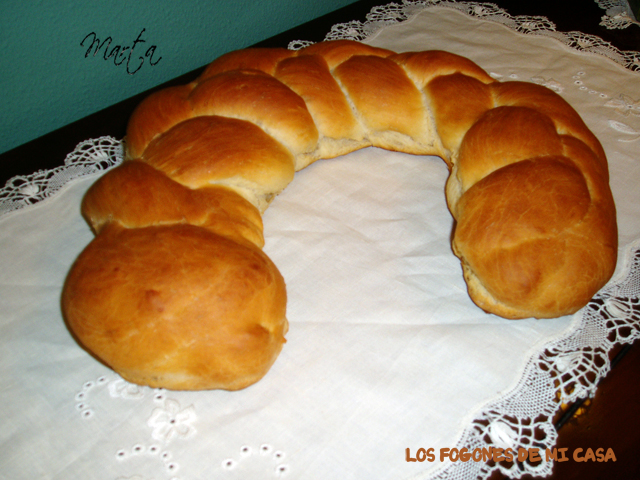
Bread plaits seem to be by far the most popular bread shape and that's exactly what Marta of Los fogones de mi casa created, using an all-purpose flour based dough.


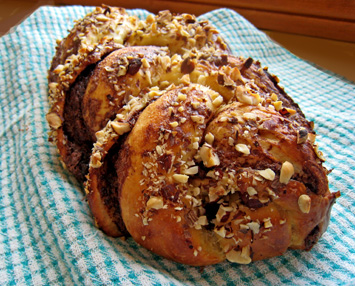
Brilynn of Jumbo Empanadas has a Challah recipe up her sleeve that won't let you down - and with a filling of roasted hazelnuts and nutella, I'm sold!


At first glance, Cakelaw didn't think much of the appearance of her filled bread ring. However, its taste won her over. You simply can't go wrong with ham, eggs, cheese, tomato, and olives!


Same with Pam of Sidewalk Shoes: She wasn't happy with her Apple Challah that lost some of its filling during the bake. But who cares when you have such a nicely browned crust to bite in!


Following an old Italian tradition, Elizabeth of Blog from our Kitchen made Occhi di Santa Lucia - an S-shaped bread. Using her Wild Yeast Bread recipe the result went down a treat with lasagne.


More cute animals! Lien of Notitie van Lien not only made chubby little rabbit who could compete with the turtle over the title of the cutest bread animal ever! Lien also made an alligator who lost its dangerous appearance during baking and turned out to be more like a friendly platypus instead. That was still not enough for this keen shaper, and Lien also made an apricot-filled flower bread. Chapeau!

Kelly of Sass & Veracity also likes the way the Scandinavians make their bread: Check out her Finnish Pulla with cardamom!


Pasticcera/Pastry chef of Bella Baita View now living in Italy, decided to use a traditional Pain de Campagne recipe to shape it into two different kinds of epi de ble. One straight, one round, it's hard to say which one I like better.


Crusty, round, with twisted rays - what could this be? Lynnylu of Cafe Lynnylu created the most awesome Pain du Soleil.


Corum Blog can show off with another flower bread - this time using spelt flower which is a favourite of mine. Using different toppings, everyone can have a petal to his or her liking.


Tanna of My Kitchen in Half Cups recreated a classic, the famous Parker House Roll. She did give it a new twist, though, using a potato-based dough and lots of seeds.


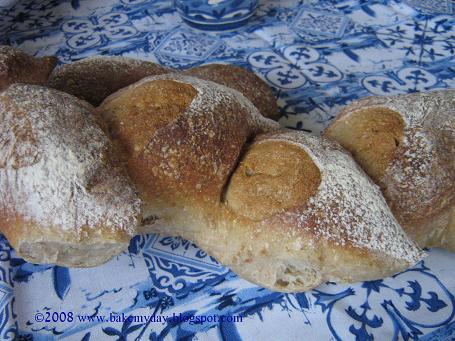
Karen of Bake my Day gets a perfect crust-to-crumb ratio with her crusty epi de ble. It's time to use the scissors more often...


Susan of Wild Yeast certainly knows a thing or two about bread! If you want to know how to shape a perfect Couronne Bordelaise, head over to her blog. And the best part, you can do it without having to buy expensive equipment!


Pam of The Backyard Pizzeria also likes Italian breads: Her pane siciliano is s-shaped and of a lovely golden colour - thanks to semolina flour.


Holly of PheMOMenon stays true to the name of her blog and comes up with a truly phenomenal Kolach. If you like the flavours of orange, pecan, and chocolate, this sweet bread is for you!
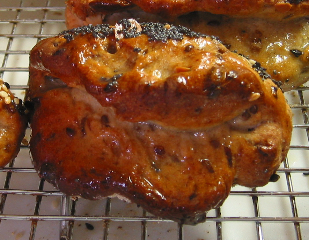


For a cinnamon addict like me, these beautifully slashed cinnamon rolls are the perfect afternoon treat! Arden of In the Kitchen with Arden, could you please send me some...?


And last, but not least, there's the Swedish Tea Ring of Tartelette! In fact, she forgot to email me but as I'm checking her blog quite frequently, I was very pleased to see this yummy creation and it shall not go unnoticed!


PS: These are my BBD#6 creations! But you must excuse me for now, I need to get baking...

Saturday, 2 February 2008

BBD#6 - The Round-Up - Part One

Lots of people have been baking and shaping in the last few weeks and I must say it was a real pleasure seeing so many wonderful creations for Bread Baking Day #6 trickle into my mailbox. I received 35 entries from allover the world - thanks to Zorra of 1x umruehren bitte who created this popular food blogging event.

Now I'm absolutely spoiled for choice: Which one of these elaborate sweet and savoury breads should I try to recreate first..? I'm sure you'll see some of these recipes pop up on this blog in the course of the next few months and I hope that you will do just the same. The idea of sharing bread with friends and family is well-known allover the world and sharing bread recipes comes pretty close! There are many variations of braided bread, lots of unusual folding has been done, and even several inhabitants of the animal kingdom made it into this round-up!

The entries will appear in the order of arrival in my mailbox. To avoid an overly long post - and to draw more attention to each creation - I'll be splitting the round-up into two posts. The next one will come up very soon!

Meanwhile I'm looking forward to finding out what the theme of BBD#7 is going to be. Head over to the next host, Petra of Chili & Ciabatta, she'll reveal the secret on February 6!

Nora of Life's Smorgasbord opted for the ever so popular braided loaf: Her version uses potato for a tender texture. A little sugar turns this shiny loaf into a real tea time treat!


Gretchen of Canela & Comino from is a lucky one: With Challah on her must-try list for 2008, her choice for BBD#6 was obvious. That's how to go about new year's resolutions!


The German-speaking blogger-group Huettenhilfe prepared flatbread with herbs. Slashed in a criss cross pattern, this bread has lots of crusty bits to offer.


Petra from Chili & Ciabatta shares her vast knowledge about bread baking with a whole photo series: Learn how to make her beautifully folded Pan de Hojaldre or Pane Sfogliato!

Katie from Apple & Spice offers another tasty afternoon treat: Her Coffee, Almond, and Choc Chip Braided Bread goes down well with a cup of coffee or tea!


Sarah from What Smells So Good? enters the realm of fairy tales with her edible version of "The Prince and the Pauper": Her breadsticks contain peasant ingredients like rolled oats as well as expensive spices like saffron.


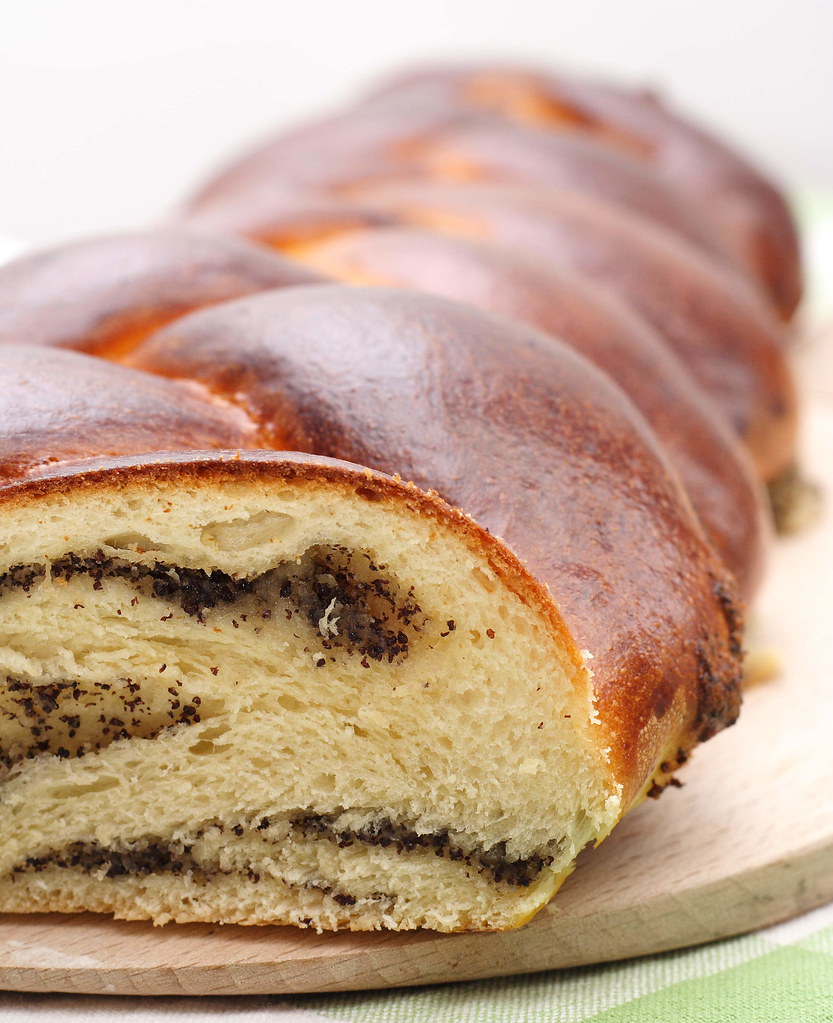
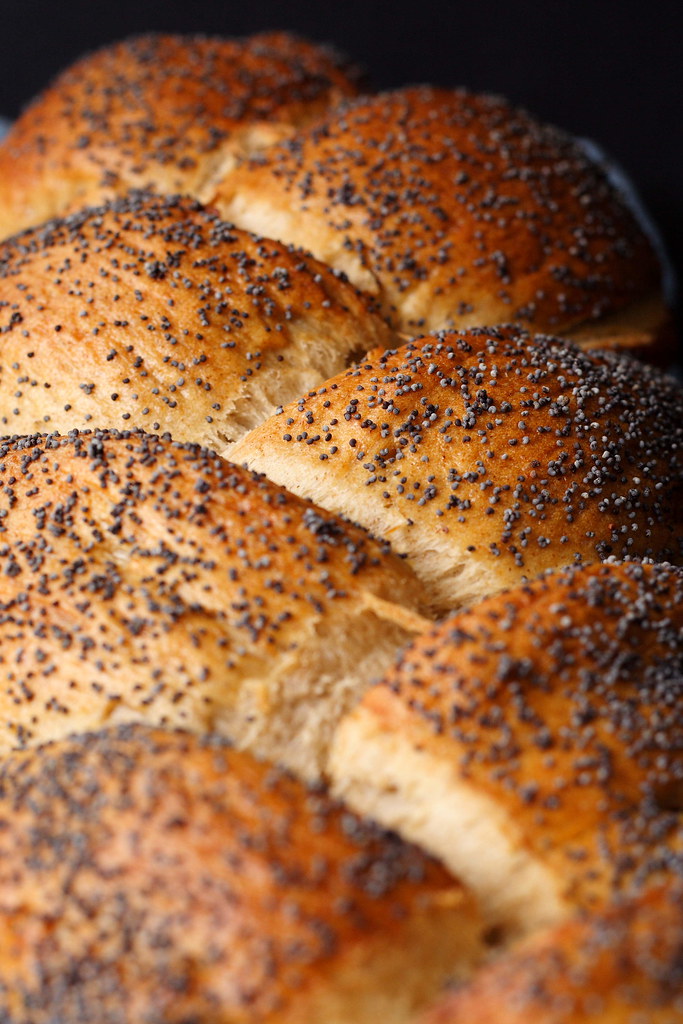
Ever wanted to know how to braid using four instead of three strands? With her poppy seed plait, Ulrike of Kuechenlatein shows you how!


There can never be enough recipes for plaited breads with poppy seeds: Patricia from Technicolor Kitchen presents the Brazilian version of this popular loaf which uses condensed milk - very yummy!


Boaz from Folding Pain took up the challenge and entered two different recipes: His sourdough couronne was wonderful already but his whole wheat stars with dried fruits and oats are absolutely stunning!

Zlamushka's Spicy Kitchen shows off with her Bratislava Rolls. Dunking these sweet-filled crescents into a cup of tea is highly recommended!


I don't know how to handle a six-strand braid but Chris from Mele Cotte surly does. His sophisticated Challah is decorated with black and white sesame seeds.


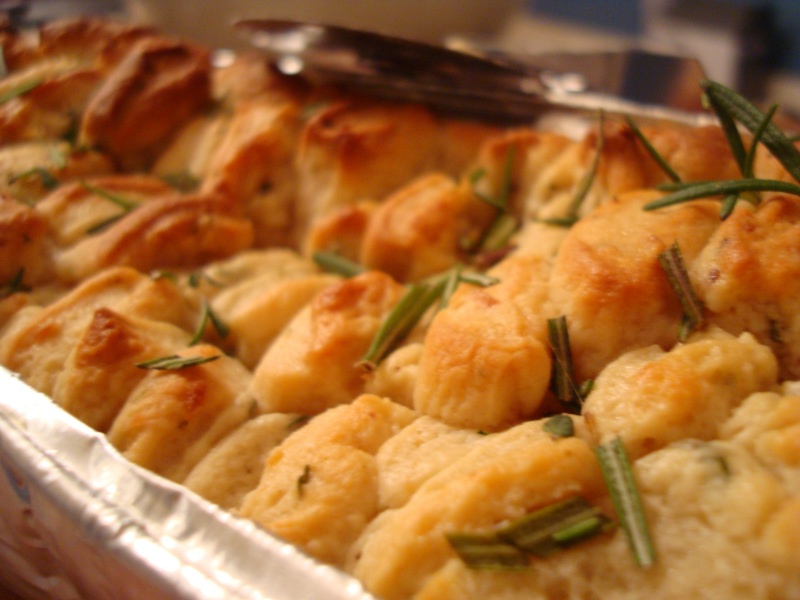
Jenny from I'm hungry enters savoury bread to be pulled apart: With this Garlic and Herb Monkey Bread she won't be hungry any longer!


Aparna from My Diverse Kitchen offers a perfectly shaped Onion Fougasse. Well done!


DoriAnn from Baby Steps made - together with her little helper - not one but three Challahs: with three, five, and six strands!


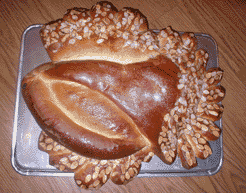
Judy from Judy's gross eats wanted to come up with something unusual and she did, indeed: Her Colomba die Pasqua turned out beautiful!


BBD-founder Zorra of 1x umruehren bitte decided to shape a bread flower using the especially strong Manitoba flour and pumpkin seeds for decoration. As far as centrepieces go, I definitely prefer edible ones!


Mediterranean Cooking in Alaska: Blogger Laurie beats the cold by making the food of her second home, a Greek island, and tapping on the rich culinary traditions of the region. Check out her Algerian flat bread.


Part Two of the round-up will follow soon!