Google
 

Friday, 7 November 2008

Time to change...finally


Had it not been for Nora's comment, I would have promptly forgotten about this blog's third birthday - it does seem to be some sort of recurring theme... Especially when yesterday's post would have been quite suitable to double as anniversary post....ah, never mind!

Being time-poor as usual, any culinary adventure fit for an anniversary was out of the question, so I decided to finally do something about the long-planned make-over of this blog. Yes, that's right, it was planned for a long time with designing new headers, fighting with the template, trying to understand Html and CSS (still not much of an advance in that respect) and all the cursing that comes with it. However, I didn't really like any of my earlier attempts. The day-long shooting for the perfect new header photo somehow never came - and the project was abandoned - shame on me...

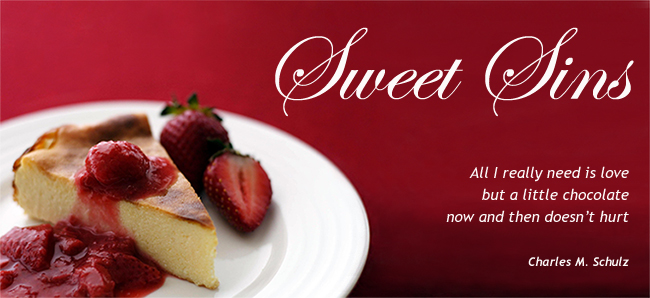
So, on a whim, I decided to turn yesterday's cheeseckae photo into my new header and played around with the new blogger-template (luckily it worked out this time). There are still a few odds and ends to fix up - haven't figured out how to change my column width or how to convert to three columns and many more things like that.

However, this blog got new clothes to start afresh into its third year! Feel invited to come along with me and please tell me what you think of the new look!

Thursday, 6 November 2008

Delicious Stuff from Delicious Days


One fine day, about two and a half years ago or so, my friend Nora introduced me to the wonderful world of foodblogs - guess, I've mentioned that fact before, have I? Anyway, what I might not have mentioned is the sad fact that some food blogs come and some go simply because I'm not able to keep up with all of them - no matter how much I'd love to. However, there's one that I clearly remember from this first awakening and that has stuck with me ever since. I'm sure you know this one already: it's Nicky's Delicious Days - a wonderfully written and photographed food blog from Munich.

During my recent trip to Germany, I had the good fortune to meet up with her for breakfast and, it being the final days before the release of her first cookbook, I also had the chance to get a sneak peak into it! I probably asked her all the questions about it everyone was asking as well..;-) Add to this that we happen to come from the same small town in Eastern Bavaria (with lots of regional specialties) plus the fact that we both experience(d) living abroad and you can imagine one lively conversation!

After having seen her book, it was only a matter of days until I could finally go to the bookshop and get it. However, deciding which one of the recipes to make first took me a while. Reading it from cover to cover first (there's not only recipes but lots of stories to go with them, too) and then leaving through it two more times, I finally had made up my mind that it had to be something sweet. Well, maybe not so surprising after all, is it?

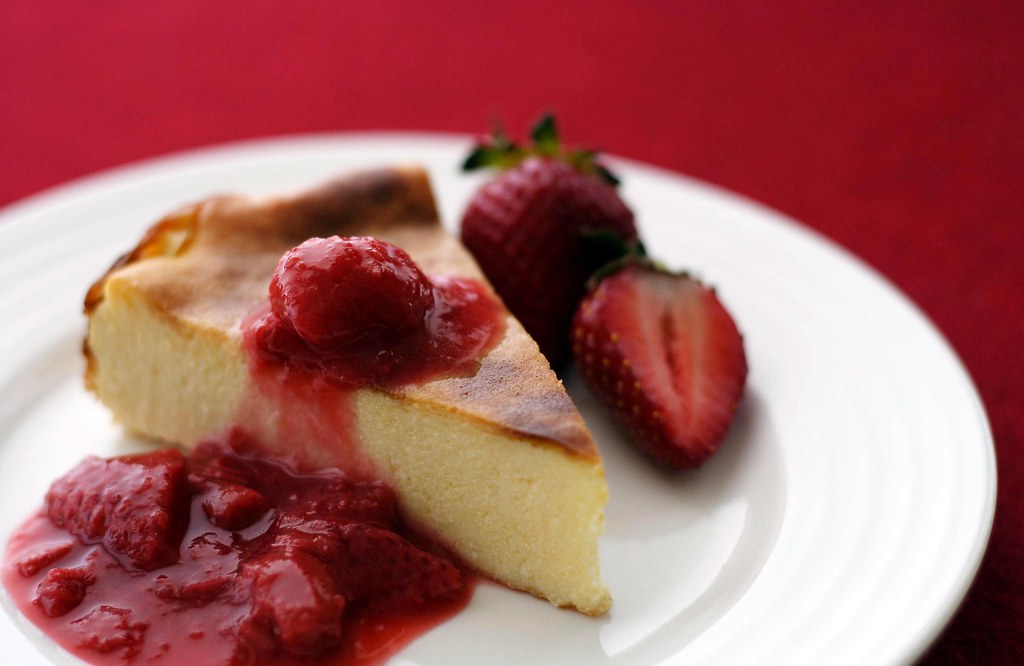
Being an avid cheesecake lover, I decided to try Nicky's cheesecake that comes from her favourite cafe in Munich (definitely need to go there next time...) and it was every bit as promised: creamy, moist, and with a little tang from lemon juice. Usually, I would make souffle-like cheesecake batters with stiff meringue that would naturally crack and sink upon cooling. So if I need to get a sturdier cheesecake that will stand up without tasting of flour or cornstarch, that's the way to go!

And in case you wondered, it didn't take me quite as long to determine what to try next..;-) So far, we've had the apple-and-bacon mini-quiches that got rave reviews as well as the goats cheese salad with green nut-dressing - which my vinaigrette-drinking husband (a trait he incidentally shares with Nicky) heartily approved of.

Next in line was the oven-baked pancake with sauteed apples (un-sauteed strawberries and nectarines in our case). Luckily this recipe proved to be even more than foolproof: Running out of time, I didn't make four separate pancakes as specified but dumped the entire batter into my Dutch oven to crisp up on the stove and bake further in the oven while we were wolfing down the main course. Luckily, the recipe stood up to this rather unconventional method and I might have even turned it into something clafoutis-like - lucky me, I've always wanted to try this classic French dessert.

There's still so much more to try...
Sorry, no recipes this time, you might just have to go buy the book!

PS: The original cheesecake recipe isn't crustless but when serving cheesecake with an accompaniment like this strawberry-rhubarb compote, I prefer to have it without the shortcrust.

Thursday, 16 October 2008

World Bread Day - German Seed Bread


People, World Bread Day is almost over (at least on this side of the earth) and I'm loaded with work but didn't want to miss out completely on this event that's created by the lovely Zorra of Kochtopf and that's very dear to me!

So this is going to be a short one. During my recent trip to Germany, I had plenty of stuff on my to-do list. Next to "meet as many friends as possible", there was "eat as many German specialties as you can possibly stomach". What shall I say, I really worked hard on that one...

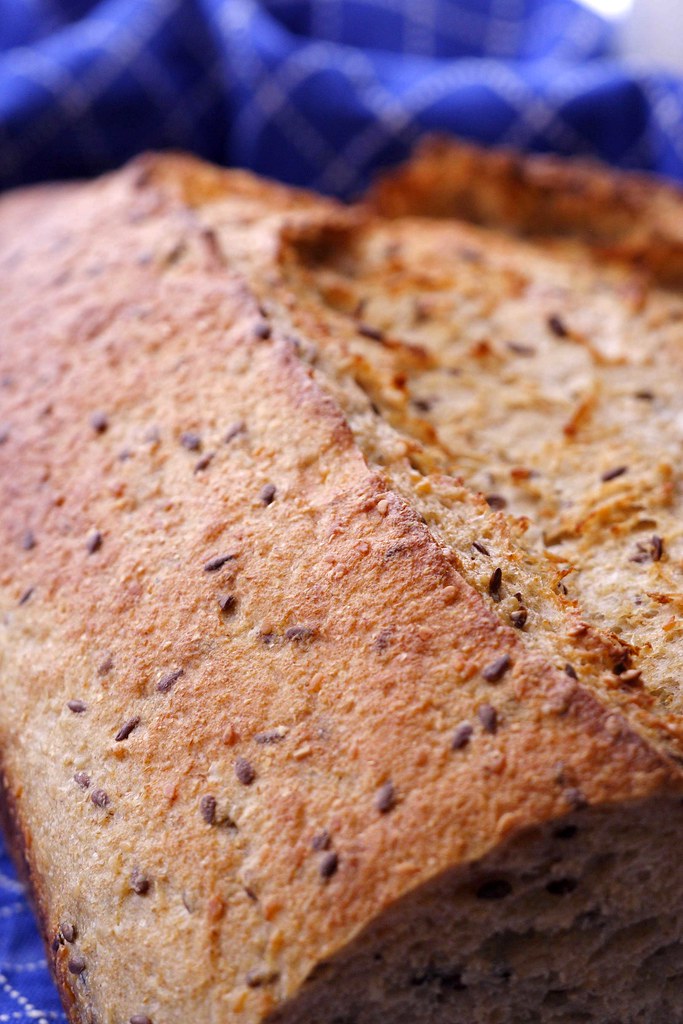
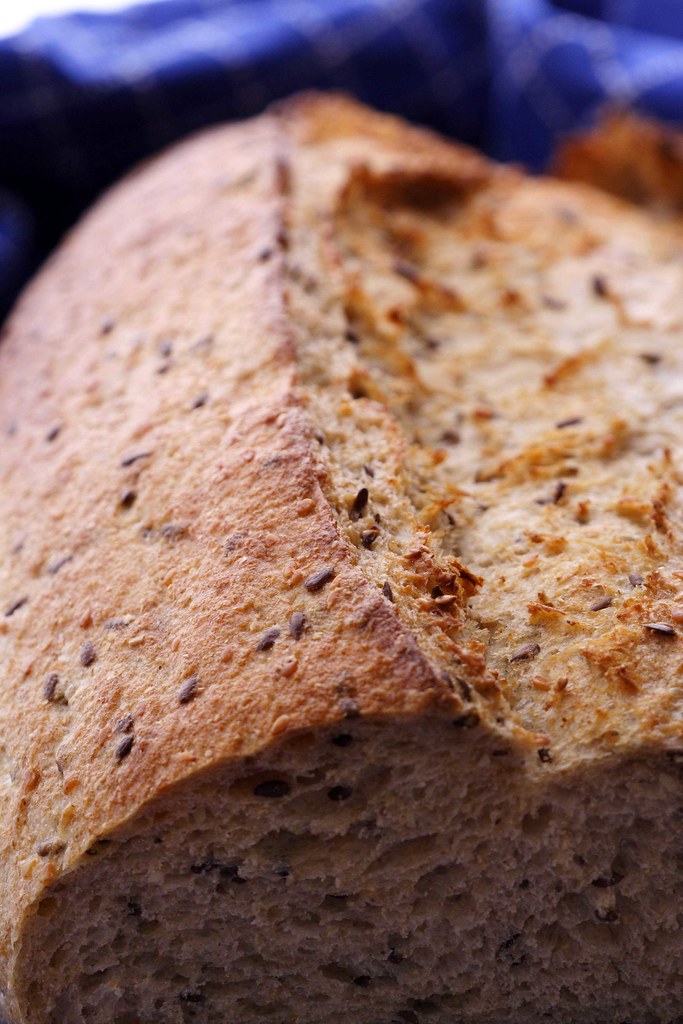
Of course, one of the most memorable things I ate (apart from an incredible number of sausages and cured meats) was a certain type of bread - full with seeds but not dense and heavy at all. Still chewing, my better half requested this particular loaf to be recreated in Sydney and who am I to deny that..;-)

I started off with this recipe from Petra of Chili and Ciabatta and made the changes following below. For non-German-speakers, just a rough summary of the procedure: let the soaker rest for 3-4 hours (covered), mix the dough, let rise until doubled, degas it while stretching and folding it 2x, shape into a loaf, let rise until nearly doubled, and bake at 220 degrees Celsius.
The dough is relatively moist and rather sticky but not too hard to work with (stretch & fold helps a lot to get a good dough structure). My version produces a soft but hearty crumb (due to the different kinds of grains and seeds) and a compact but rather soft crust. It goes well with honey, jam, and mild cheeses.

PS: The first time I made it with a mixture of sourdough and instant yeast as below, the second time around I used sourdough only but can't remember for the life of me if I therefore upped the amount of sourdough or not. Hence, I need to make it again to find out...

Seed Bread

The ingredients

Soaker:
45g flax seeds
45g rye flour
35g sesame seeds
35g rolled oats
11g salt
206g boiling water

Final dough:
180g water or whey
all of the soaker
250g wheat sourdough, 100% hydration
1tbsp honey
360g bread flour
30g wheat germ
1 tsp instant yeast
1 tbsp malted barley flour
up to 4 tbsp whole wheat flour (depending on the stickiness of the dough)

The source
Adapted from Petra of Chili&Ciabatta

Friday, 10 October 2008

Wedding Wrap-Up


In case you're currently contemplating to get married - I can honestly recommend doing it not once but twice. But before you cry out in dismay, I'm talking about doing it twice with the same guy..;-)

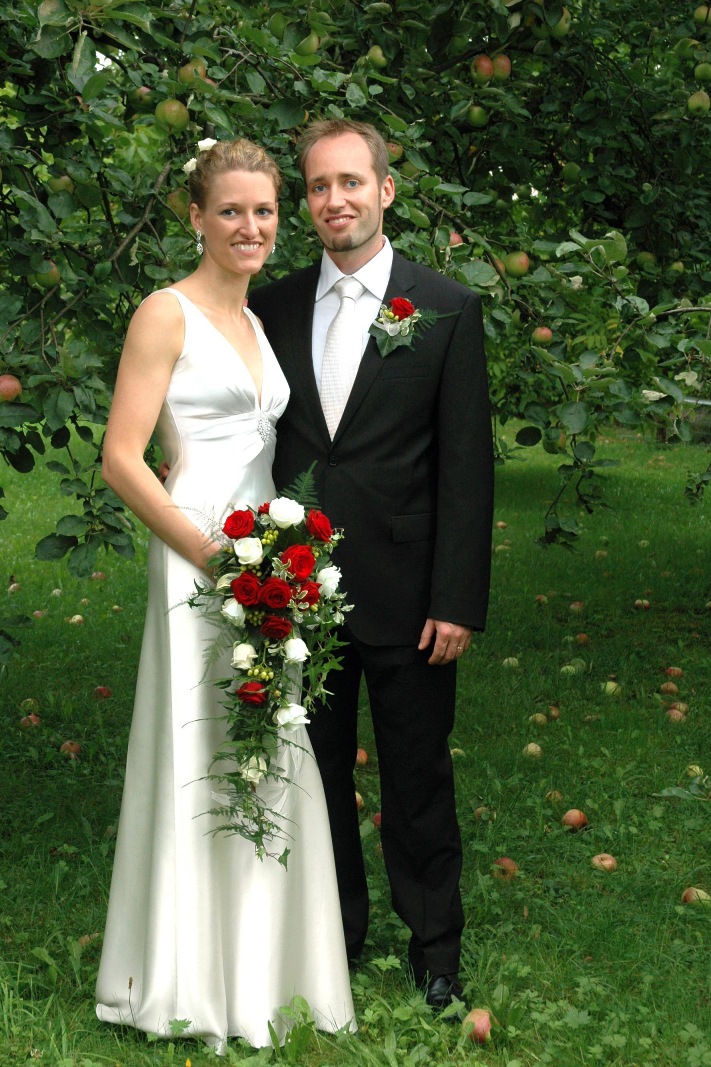
This April T and I tied the know in Copacabana Beach (not in Brazil but on the lovely Central Coast of NSW) for the first time; and this September we did it allover again in Germany - accompanied by our families and relatives (and again lots of friends) who hadn't been able to come to Australia.

Although the settings of the two weddings could not have been more different (first just a few friends, an outdoor wedding with a barbecue reception and now about a 100 guests, a very festive ceremony in a grand Gothic church, and a four-course-dinner plus a huge wedding cake buffet) a few things remained the same (apart from wearing the same dress twice..;-)

Both times it was a very relaxed celebration - it was all about having a good time with lovely people while eating and drinking as much as possible. Much to my own surprise, it was just as exciting the second time around. Until three days before, I had managed to convince myself that I was a total pro where getting married was concerned so no need for butterflies in the stomach or any such nonsense. After all, we had been legally married for almost half a year already, right? However, shortly before the wedding, we decided to write our own vows just like for the first ceremony and to learn them by heart this time which was enough for me to finally get nervous again...
But most importantly, listening to my man promising to always be my friend, companion, and lover - it was definitely enough to make me get teary allover again...
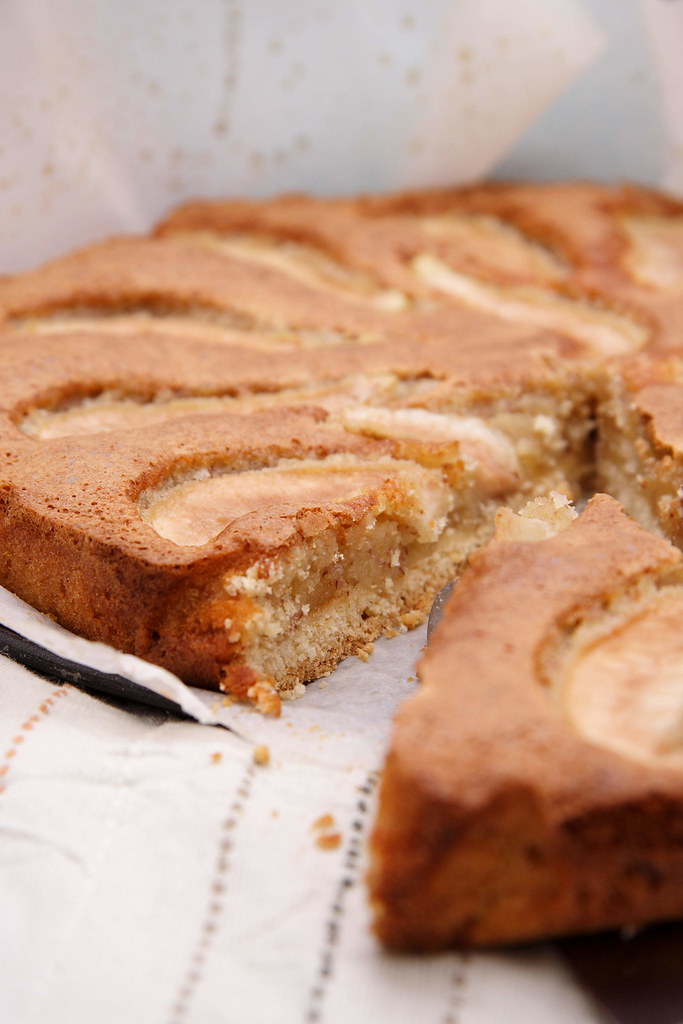

PS: In case you wonder, what our wedding has to do with the tart I'm blogging about today - my lovely workmates from Sydney had sent me off with a wonderful bunch of flowers. So once I was back in Sydney, I wanted to bake something nice for them. Thinking that I had enough shortcrust pastry in the freezer, I quickly decided on a frangipane tart. However, after defrosting the pastry, I realized that the two portions weren't the same thing - one was a parcel with streusel topping. Hence this rather unconventional take on a frangipane tart which hopefully still qualifies as an entry for Kochtopf's food blog event "Quiche, Tart & Co"..;-)

Note to self: Thou shalt not only label your freezer bags but also read the label before proceeding.


Emergency Frangipane Tart

The ingredients

Your favourite shortcrust pastry to line a 24cm-spring form pan (I use this one)

2 small eggs
50g caster sugar
a few drops of rum essence (optional)
60g marzipan, grated
100g streusel topping (like this one - freeze the remainder for another time)
50g almonds, ground

1 pear, peeled and cut into thin wedges (add more fruit if you like)

1
Either grease your spring form tin or line it with parchment paper. Press the pastry into the tin, forming a small rim (if you happen to have enough pastry, that is...). Prick with a fork a couple of times and fan-bake at 150 degrees Celsius for roughly 10 minutes.

2
Using a hand-held mixer, beat eggs, sugar, and rum essence (if using) until pale, thick, and foamy.

3
Add ground almonds and streusel topping and fold in gently. You don't want to destroy the foamy consistency.

4
There are two possibilities for adding the marzipan:
You either grate it into the bowl where it will most likely clump together again - in this case try to mix it in as gently as possible. Or you pour the filling into the tart case and grate the marzipan directly on it (I'll try this method next time).

5
Cover with pear slices and fan-bake for another 30 minutes or until crispy and golden-brown on top.


The source
My own invention - out of necessity..;-)

Thursday, 25 September 2008

Here I am again... with Broad Beans!

Poah, that's been a long absence... Now I'm definitely happily married and will be writing more about our second go once I've got the photos - let me just just say it was w-o-n-d-e-r-f-u-l! (Meanwhile you can read about our first wedding here.)

After a long but oh-it-seemed-so-short stay, we had to kiss our families and friends good-bye and were off to Sydney. While living in this preparing-for-and-then-getting-married-bubble, one could forget that elsewhere life goes on, you're just too busy to notice. That's also true for the food blogging world - I've had a lot of catching up to do! Always amongst the first to check is Nora's Life's Smorgasbord. I had already eyed her lavender shortbread - full of envy, of course, as I always forget to look out for culinary lavender - no matter how often I've longingly read blog posts about the creative use of this herb.

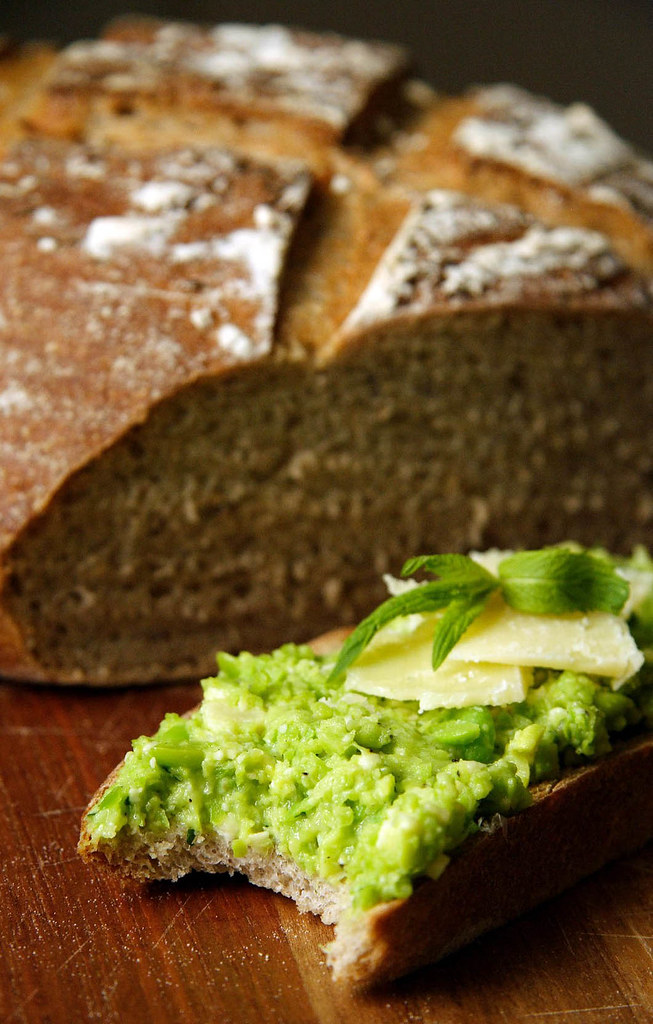
This time I read loads of stuff about broad beans that sounded utterly appetizing. What's more, Nora said that the season for broad beans is almost over! That's why I decided to do something about it now instead of saving the recipe for later (which usually means much, much later) . Off I went to the shops to buy broad beans, mint, and pecorino, and made myself a simply wonderful dinner. Granted, the whole shelling business does take a while but on the other hand it lifted my spirits to do something elaborate just for myself. With my new/old husband away on a business trip, dinners aren't such an enjoyable thing - however, these broad beans totally made my evening!


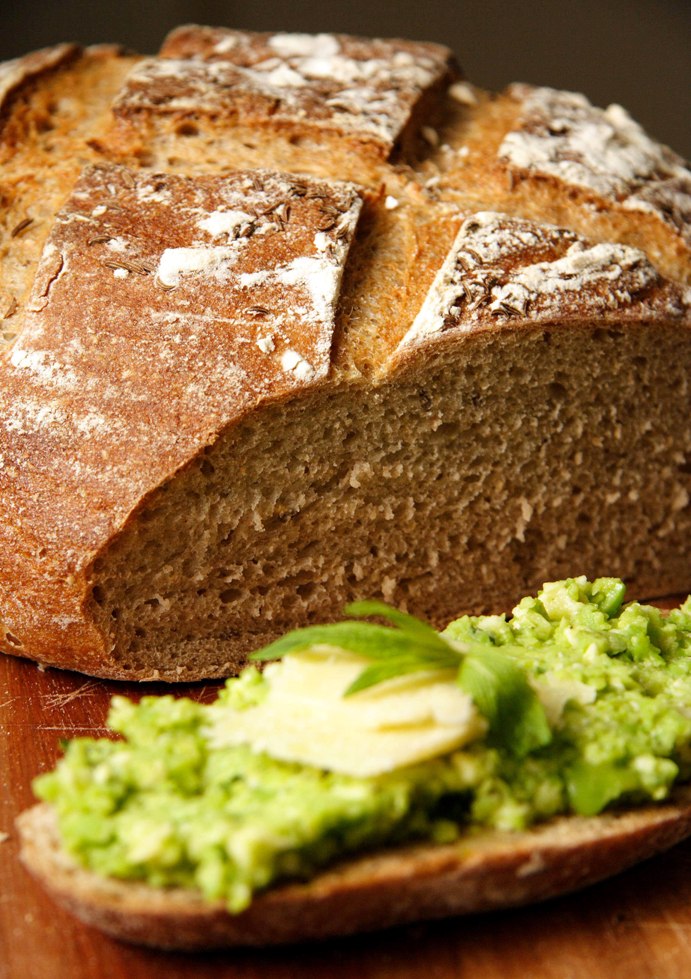
PS: Nora provided three different recipes so no need for me to type it down again (I chose Maggie Beers' version with some lemon juice added and some garlic rubbed onto the sourdough bread after toasting - lovely!). I'd rather tell you about the sourdough bread that was just baking away when I read about how to use it for dinner..;-)

Light Rye Sourdough Bread

The ingredients

250g water
360g white sourdough, 100% hydration
300g bread flour
100g rye flour
100g wholewheat flour
1.5 tsp salt (or a little more than that)
1 tbsp whole caraway seeds

1
I used my breadmaker for mixing the dough and letting it rise. The first rising was about 3 hours (the bread maker provided some warmth during the first hour). At the end of the rising time, the dough had a bit more than doubled.

2
Take the dough out of the bread maker and turn onto a lightly floured work surface. I treated it to a round of stretch&fold (for a stronger texture) and then shaped it into a round loaf.

3
Place the loaf seam side-up into a floured proofing basket (or a bowl lined with a floured tea towel). Cover and let rise until well doubled in size. This took roughly 2.5 hours. To be sure, make a light dent into to the surface of the loaf. As soon as the dough doesn't spring back completely and still shows a little dent, the loaf is ready for baking.
Meanwhile, preheat the oven with a baking sheet or pizza stone to 220 degrees Celsius (I usually use the highest setting available as I will always lose some heat during steaming).

4
Carefully unmold the loaf onto a bread peel or an upturned baking sheet (covered with parchment paper or sprinkled with cornmeal). Slash in a criss-cross pattern.
Let the loaf glide onto the hot baking sheet/pizza stone and quickly shut the door. Open once more and splash a cup of water onto the bottom of the oven - be aware of the hot steam! Again, quickly shut the door to keep heat and moisture in.

5
Bake at 220 degrees Celsius for 30 minutes. Then change to 200 degrees fan-bake for a further 15 minutes. The fan will get the remaining moisture out of the oven for a crisper crust. If you want a thicker crust, bake a little longer at 220 degrees before changing to fan-bake.

6
Let the loaf cool completely on a rack before slicing.

The source
Inspired by Dan Lepard's Barley and Rye Bread