
Here comes another quick treat with the potential to brighten up a rainy weekend (unfortunately a regular occurrence during winter in Sydney). Basically it's the lucky result after trying to make the best use of a couple of leftovers: A few weeks ago, I had lots of buttermilk after this kitchen project, lots of white chocolate after this daunting affair, plus the weak resolve not to eat too heavy a cake this weekend...
After a quick online research, I used Orangette's version of a buttermilk cake to start out with. The major change was cutting down on the sugar and using more flour and buttermilk at the expense of the butter. Of course I knew that with all my tinkering, the white chocolate would still make for ample richness.
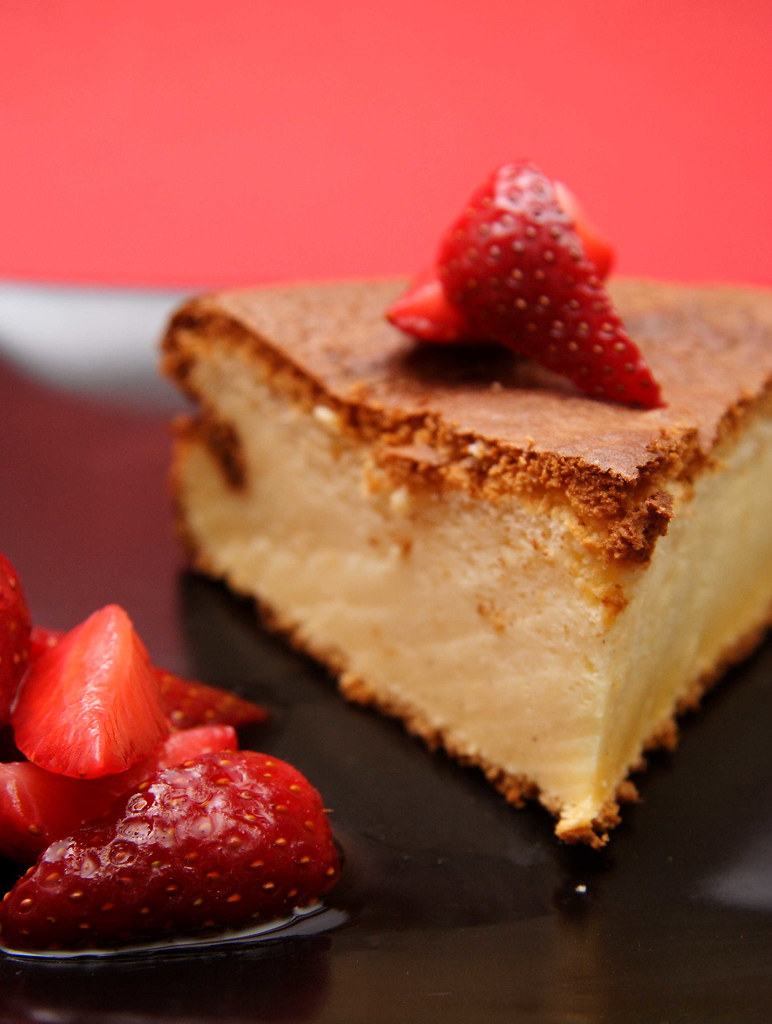
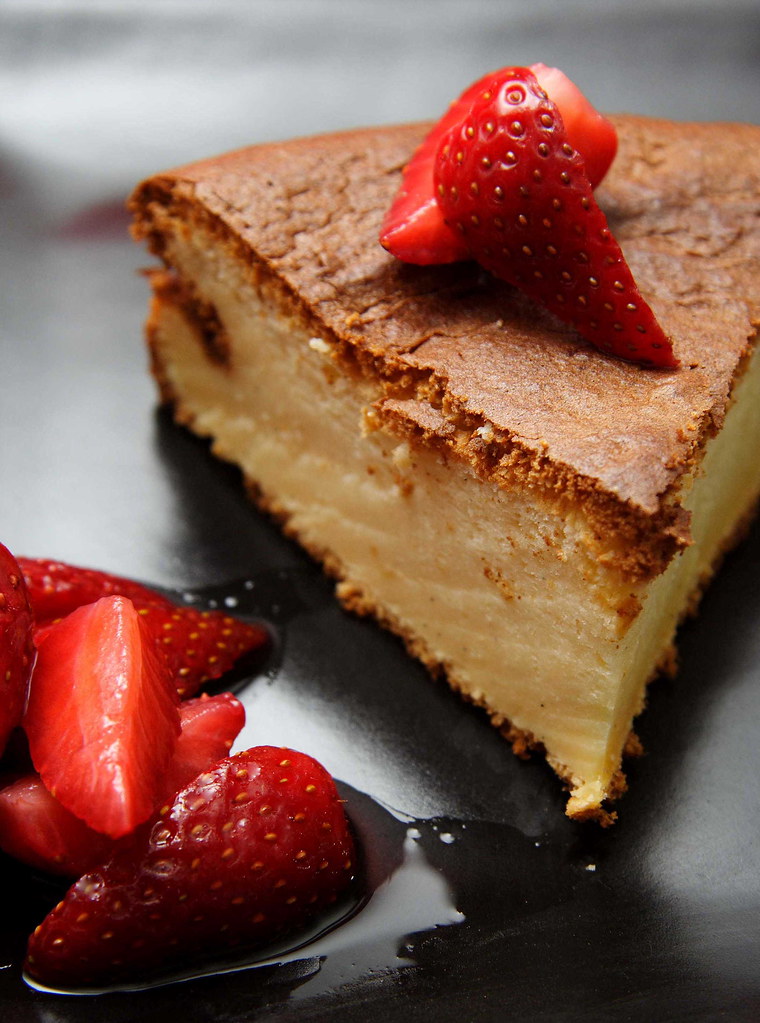
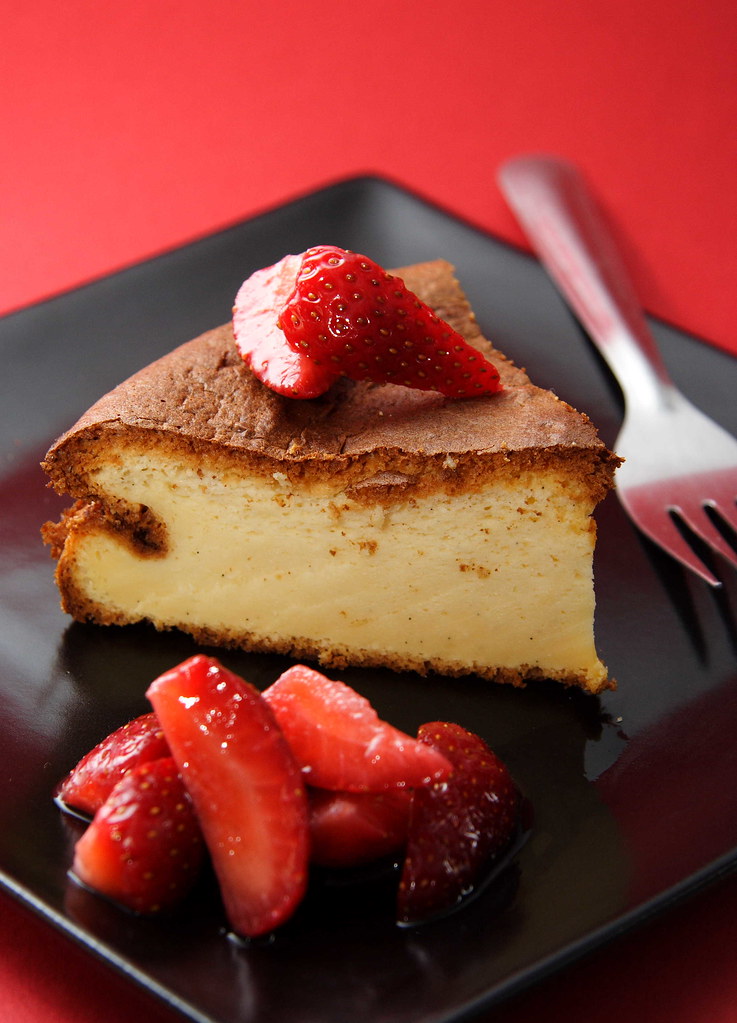
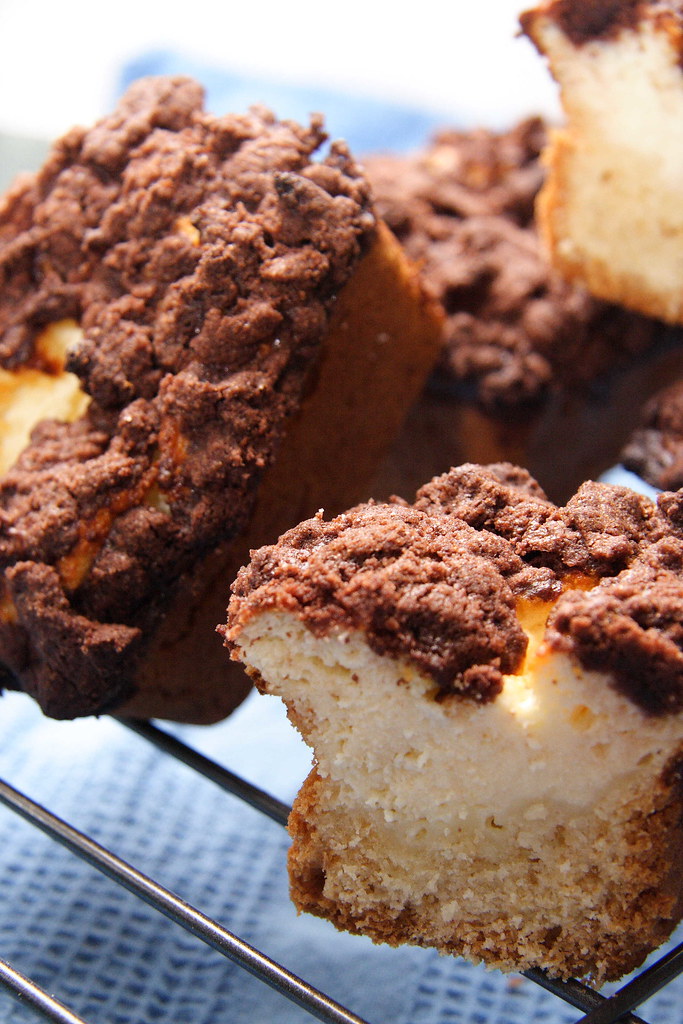
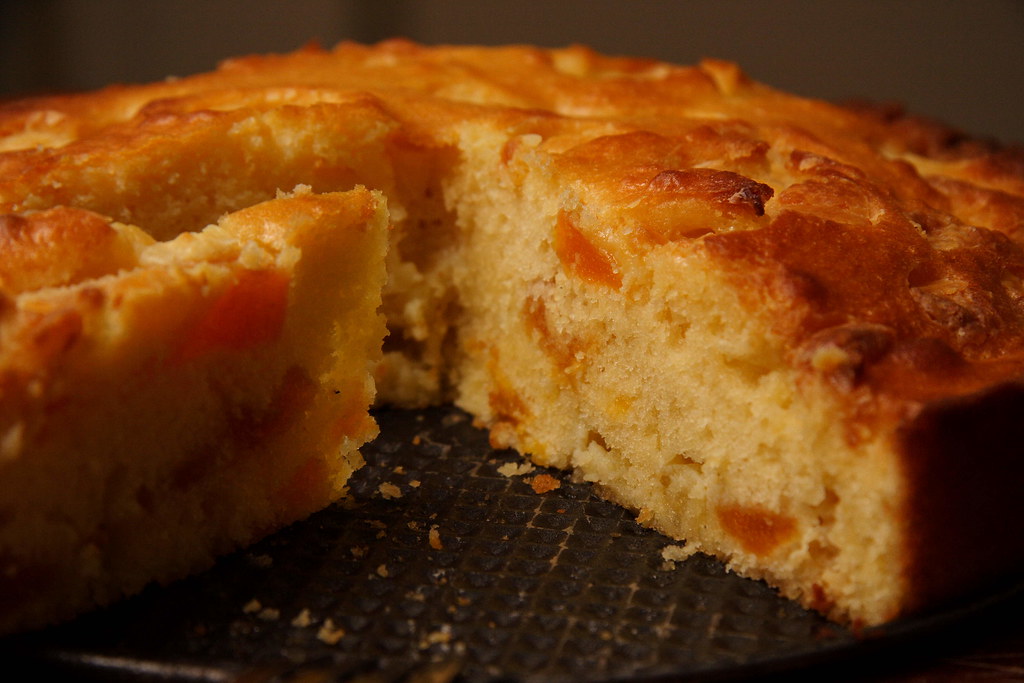
I'm not very experienced in baking with white chocolate and didn't know what to expect. However, this cake exceeded all expectations and proved to be really moreish for everyone who took part in devouring it. The biggest surprise were the white chocolate bits that had touched the pan during baking: They turned into caramelized, crispy, brown bits that were the best part of the cake!
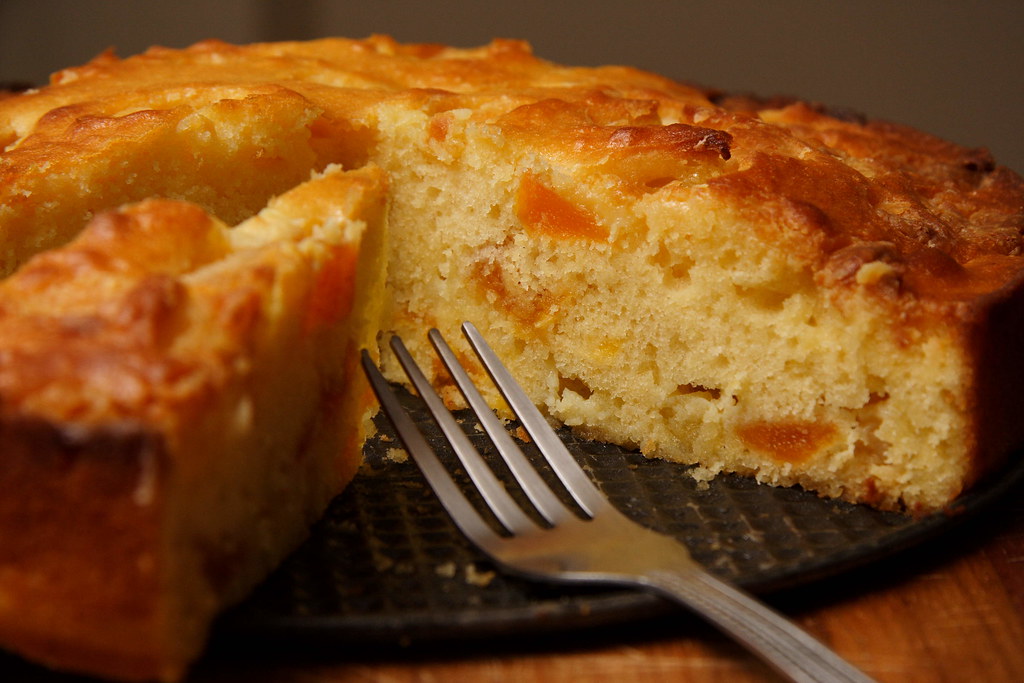
Buttermilk Cake with White Chocolate and Dried Apricots
The ingredients
70g unsalted butter, at room temperature
125g granulated sugar
pinch of salt
1 vanilla sugar
3 large eggs
200g unbleached all-purpose flour
½ sachet baking powder (about 1 tsp)
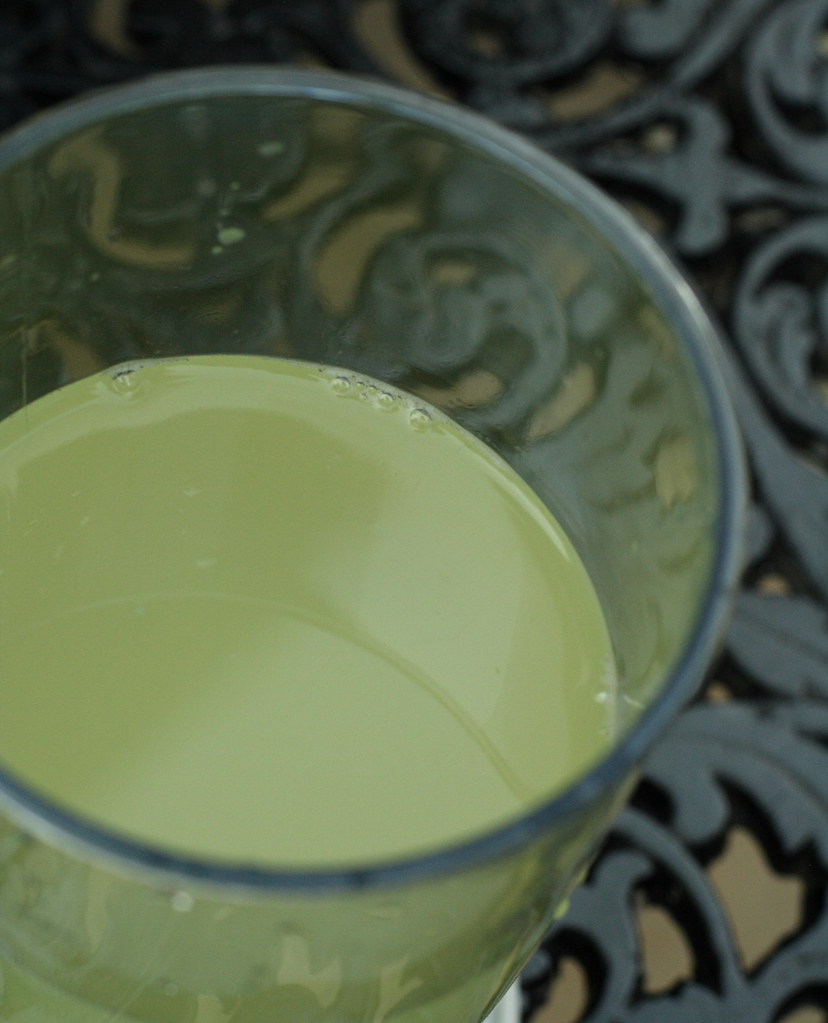
125ml buttermilk
150g dried apricots, chopped
Lots of white chocolate, cut into chunks (at least 150g)
Briefly rehydrate apricots in a splash of boiling water. Meanwhile, cream butter with sugar, vanilla sugar, and salt.
Add eggs one by one, mixing well in between.
On low speed, mix in flour and baking powder. Slowly add buttermilk - the exact amount might vary according to the size of your eggs. The texture of the batter should neither be liquid nor too stiff (I hope that makes sense...).
Drain apricots and fold in. Fold in half of the white chocolate. Scrape batter into prepared baking tin, 24 cm in diameter). Sprinkle remaining chocolate on top.
5
Fan-bake at 150 degrees Celsius until golden on top and a wooden skewer inserted into the middle comes out clean (30-40 minutes).
The source
Loosely based on Orangette's Buttermilk Cake
The hint
I've also made this cake with fresh or tinned fruit instead of the apricots and white chocolate. Whitout chocolate, this cake is wonderfully light and fluffy - and finally counts as diet food which is not a bad thing in this particular case. However, this version is best eaten on the day it is made. Otherwise you could restore moistness by brushing it with a little syrup.