Google
 

Friday, 27 June 2008

Buttermilk Cake with White Chocolate and Dried Apricots


Here comes another quick treat with the potential to brighten up a rainy weekend (unfortunately a regular occurrence during winter in Sydney). Basically it's the lucky result after trying to make the best use of a couple of leftovers: A few weeks ago, I had lots of buttermilk after this kitchen project, lots of white chocolate after this daunting affair, plus the weak resolve not to eat too heavy a cake this weekend...
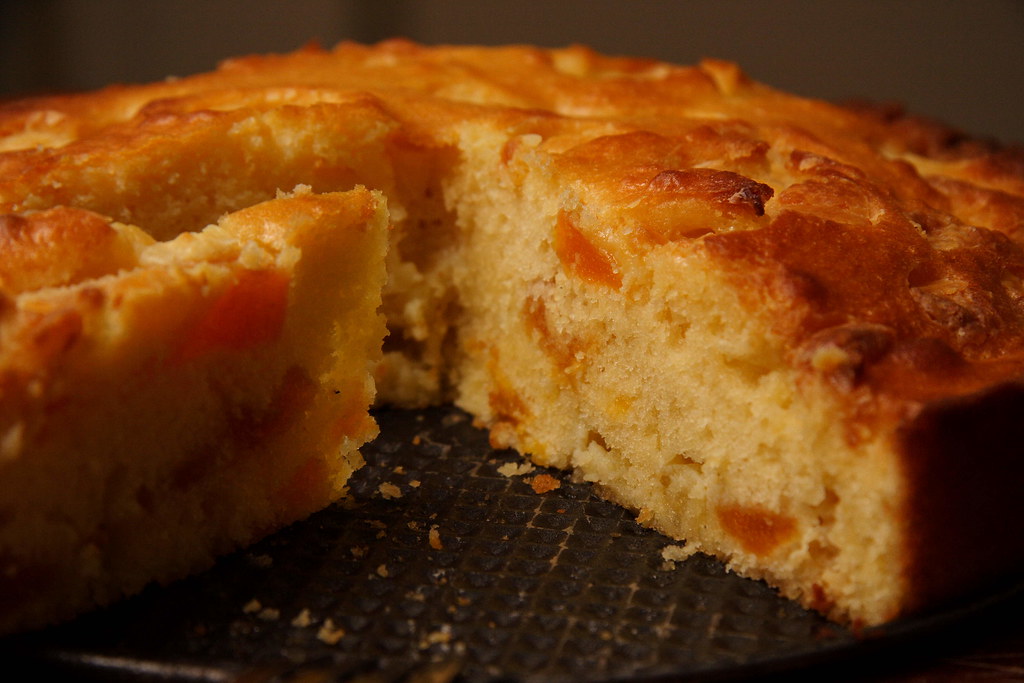

After a quick online research, I used Orangette's version of a buttermilk cake to start out with. The major change was cutting down on the sugar and using more flour and buttermilk at the expense of the butter. Of course I knew that with all my tinkering, the white chocolate would still make for ample richness.

I'm not very experienced in baking with white chocolate and didn't know what to expect. However, this cake exceeded all expectations and proved to be really moreish for everyone who took part in devouring it. The biggest surprise were the white chocolate bits that had touched the pan during baking: They turned into caramelized, crispy, brown bits that were the best part of the cake!
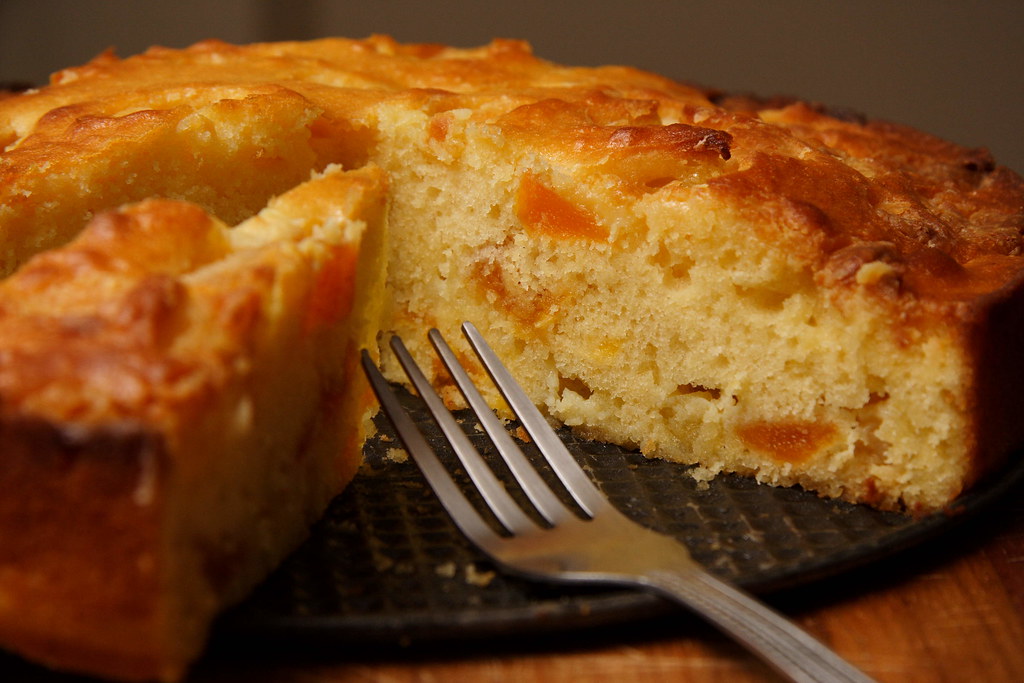
Buttermilk Cake with White Chocolate and Dried Apricots

The ingredients

70g unsalted butter, at room temperature
125g granulated sugar
pinch of salt
1 vanilla sugar
3 large eggs
200g unbleached all-purpose flour
½ sachet baking powder (about 1 tsp)
125ml buttermilk
150g dried apricots, chopped
Lots of white chocolate, cut into chunks (at least 150g)

1
Briefly rehydrate apricots in a splash of boiling water. Meanwhile, cream butter with sugar, vanilla sugar, and salt.

2
Add eggs one by one, mixing well in between.

3
On low speed, mix in flour and baking powder. Slowly add buttermilk - the exact amount might vary according to the size of your eggs. The texture of the batter should neither be liquid nor too stiff (I hope that makes sense...).

4
Drain apricots and fold in. Fold in half of the white chocolate. Scrape batter into prepared baking tin, 24 cm in diameter). Sprinkle remaining chocolate on top.

5
Fan-bake at 150 degrees Celsius until golden on top and a wooden skewer inserted into the middle comes out clean (30-40 minutes).


The source
Loosely based on Orangette's Buttermilk Cake

The hint
I've also made this cake with fresh or tinned fruit instead of the apricots and white chocolate. Whitout chocolate, this cake is wonderfully light and fluffy - and finally counts as diet food which is not a bad thing in this particular case. However, this version is best eaten on the day it is made. Otherwise you could restore moistness by brushing it with a little syrup.

Monday, 23 June 2008

Ideas with Quark


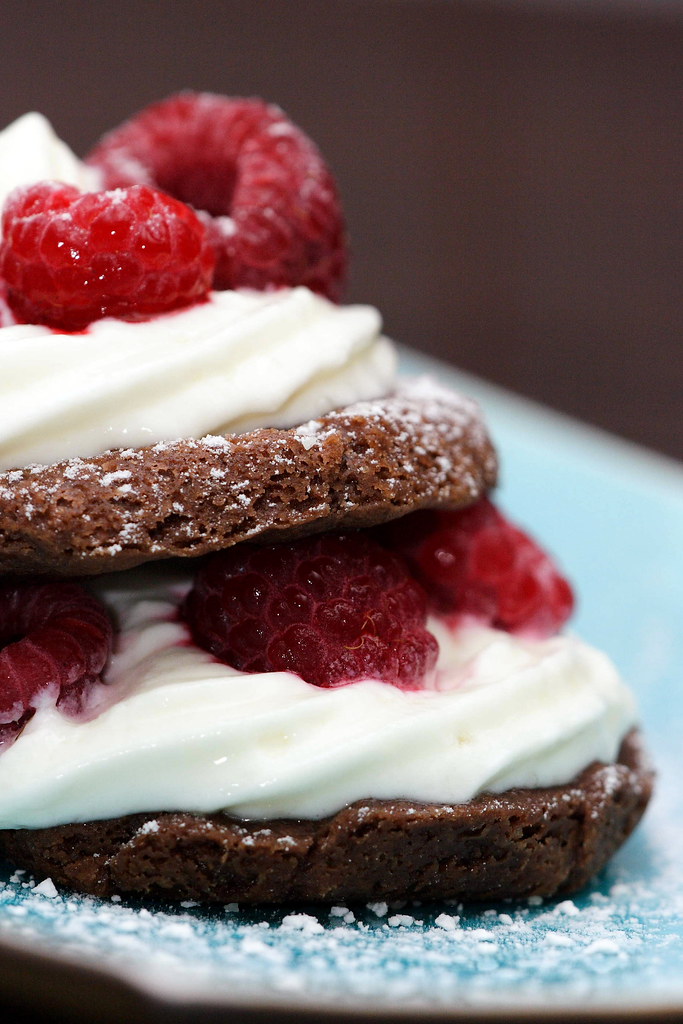
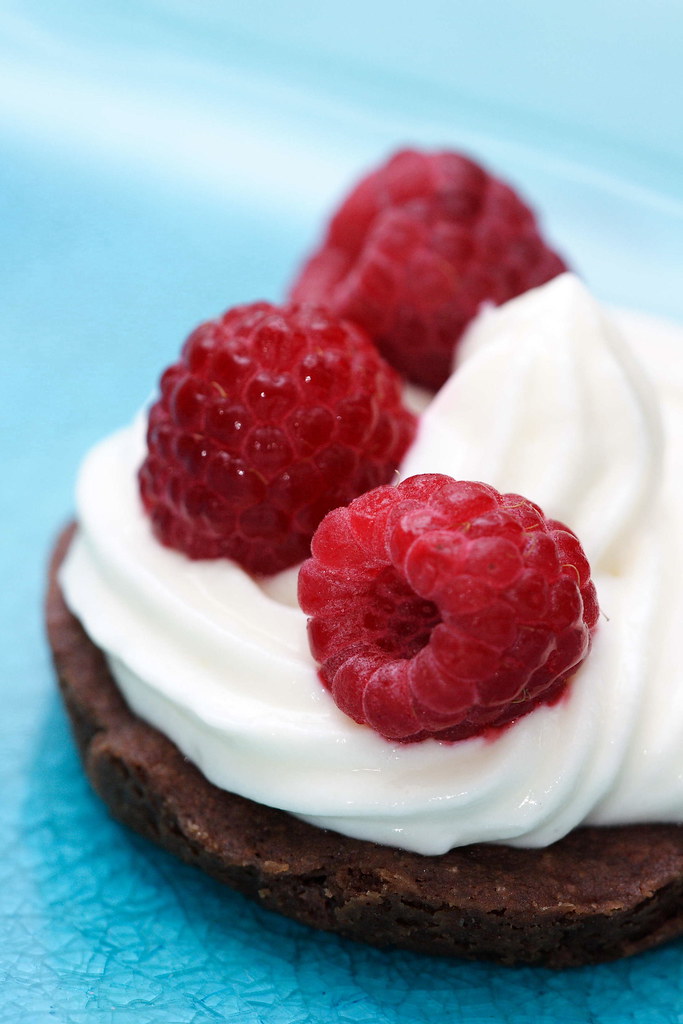
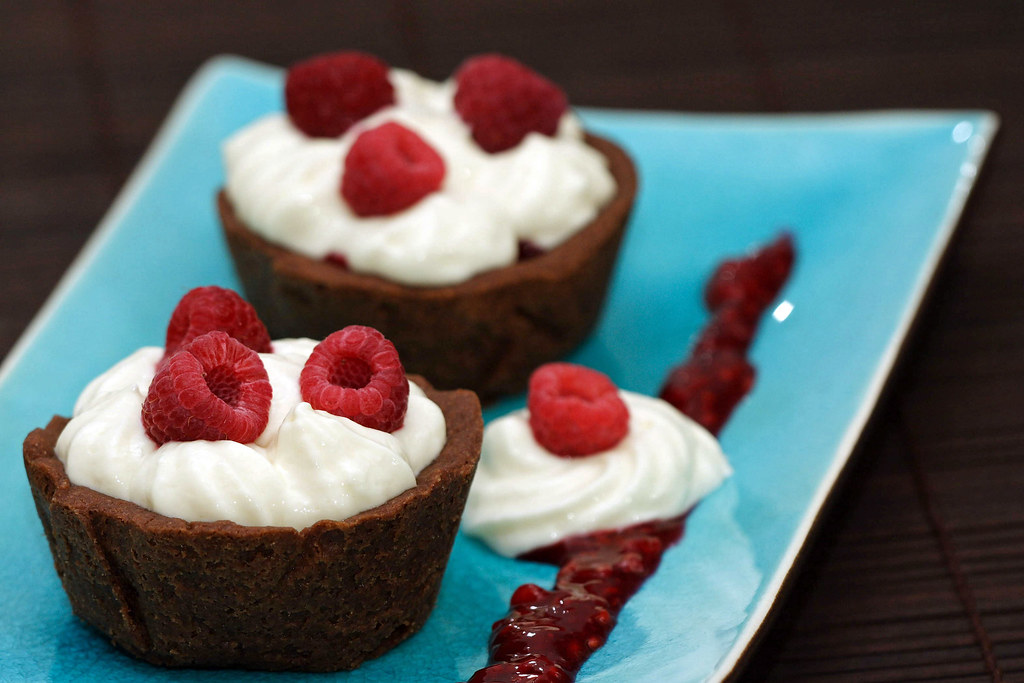
I guess it's time to see what I do with all the quark I've been making recently... The following isn't so much a recipe but rather an idea that might lead you to think up your own instant dessert. During one of the previous weekends, the urge to have a little sweet bite after dinner was positively unbearable, and I remembered having some chocolate shortbread dough and raspberries in the freezer plus newly made quark in the fridge. Dessert was only a matter of minutes.

I lined my muffin pan with small sheets of baking paper and the dough and (after a brief stint in the fridge) baked it at 175 degrees Celsius in a preheated oven (not fan-forced). Baking time varies according to size. However, once the pastry looses its shine, it's partially cooked so I then gave it another 5 minutes. Of course, these little tartelettes benefit from blind-baking but I simply poked them with a fork to deflate. Almost as pretty..;-)

Whilst the tartelette cases cooled down, I selected a few nice big raspberries to thaw on a paper towel. The others went onto the stove and got cooked with sugar and a splash of white wine to release their juices. One teaspoon of cornstarch, dissolved in some white wine for thickening. And one tablespoon of cointreau to accentuate the fruity taste.

The raspberries filling went into the tartelette cases first, then the quark filling on top. It's not quite stiff enough to allow for proper piping so you might want to add some gelatin. I ended up with the Leaning Tower of Pisa but who cares anyway.
This filling actually benefits from sitting in the fridge for a day to allow the flavours to mellow. When filled the tartelettes will hold up nicely for a couple of hours but we were too greedy to wait very long..;-)

Maybe you want to give these little tartelettes a try during the next weekend? I imagine the quark filling will pair well with any kind of berry or poached fruit combined with plain, chocolate, or a nutty shortbread base.

PS: Due to a lucky coincidence in topic, I just realized that I'm able to participate with my tartelettes in this month's "Waiter, there's something in my... Berried Treasure!" hosted by Cooksister. Well, quark in my case..;-) If you happen to make something berry-related, there's still time to take part in this event!

Chocolate Shortbread Tartelettes with Quark and Raspberry Filling

The ingredients

100g quark
100g fat-reduced cream cheese
1 tbsp fat-reduced cream
1 tbsp cointreau
1 tbsp vanilla sugar
More sugar according to taste

Mix everything together and sweeten to taste. It will be thick but not stiff.

(You see I tried to make a slightly healthy-version that luckily tasted just as delicious as its fatty cousin. However, if you're not trying to shed a few grams, don't hold yourself back!)

200g frozen raspberries
splash of white wine
sugar to taste
1 tsp cornstarch
1 tbsp cointreau

The yield

This filling is enough for four muffin-pan-sized tartelettes.

The source

My own invention

Wednesday, 11 June 2008

Making my own Quark - finally!


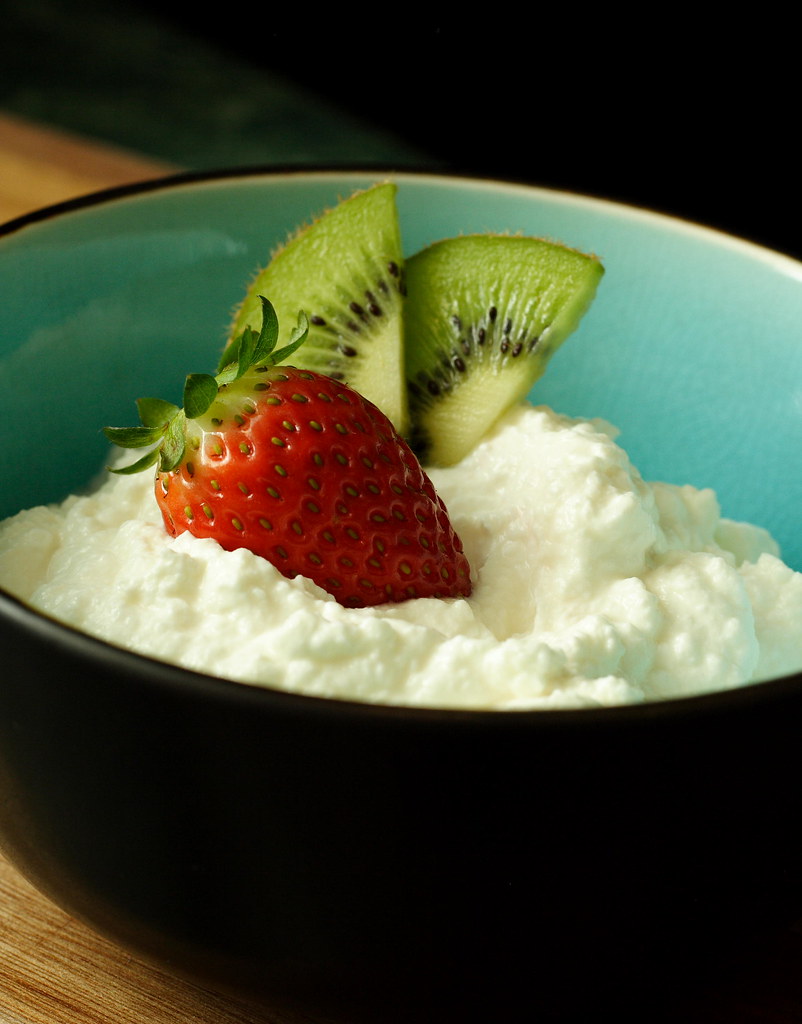
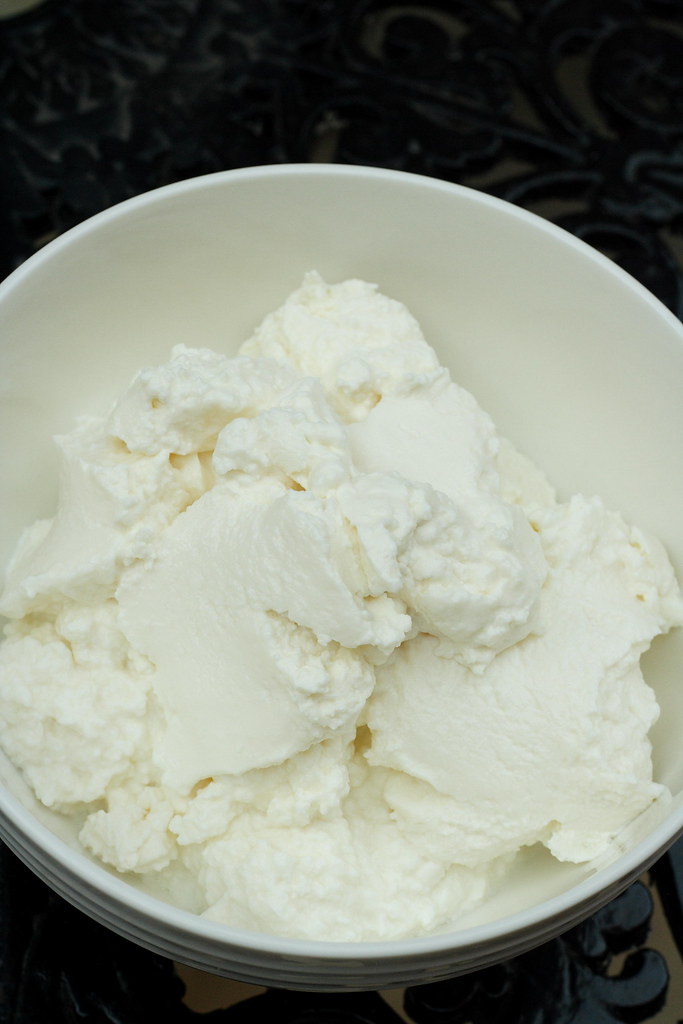
For all my constant whinging about not having German-style quark at my disposal, it has taken only about two and a half years to finally make my own. As usual, once you've started a new kitchen project that turned out much easier than you'd ever thought, you end up asking yourself why on earth... Well, no matter what, all my thanks go to Nora who gave the necessary cheese cloth to me (and it still took me a couple of months)!

Now, however, I definitely caught the quark-bug - pretty much every week since the first time, there's a big jar of milk sitting on my kitchen counter - slowly turning itself into something delicious...

After looking around online for a while, I found this recipe which seemed to be the easiest one. Indeed, all you have to do is throwing the two ingredients together, wait for two days, heat it up a little and then let it drain. Voila, there's no more quark deprivation in this household!

The resulting quark can be used for this cake, or this cake, or maybe this cake... Or add some whipped cream and macerated berries... Or make quark souffles... Or simply use it in place of butter on toast with honey or jam... Its tangy taste will cut down the sweetness of regular desserts ever so slightly, giving it a new dimension in taste without turning it into something too tart. The possibilities are endless!

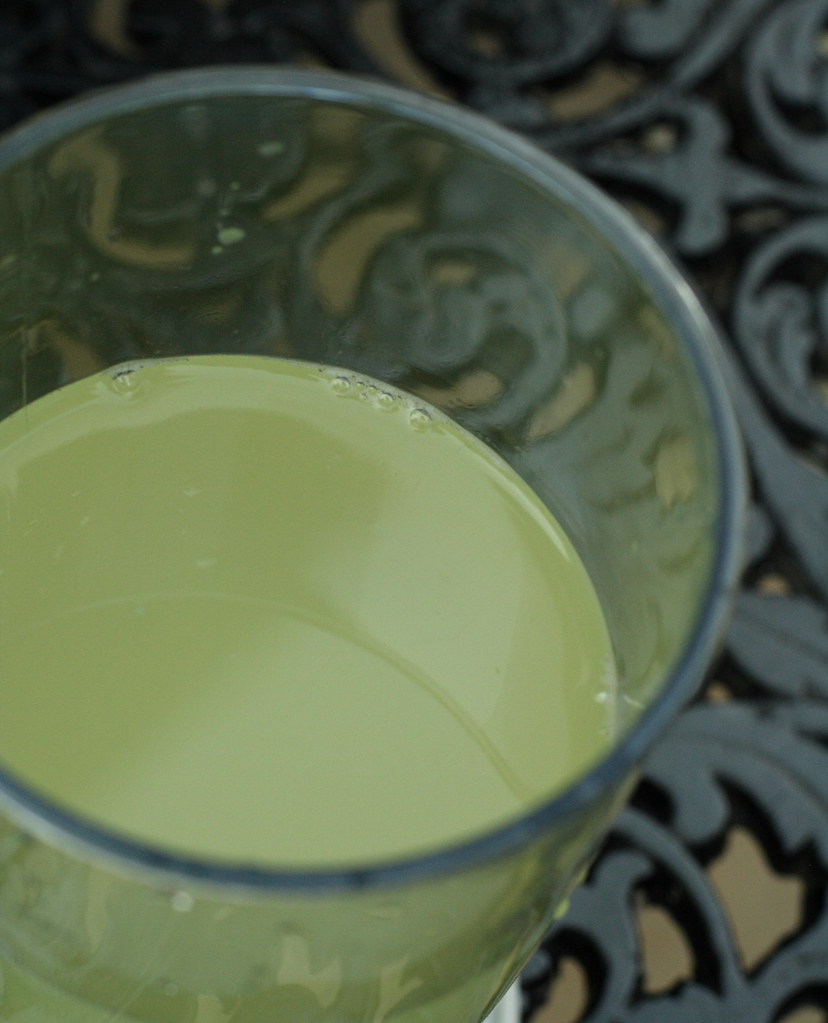
PS: You will also get a lot of whey that shouldn't go down the drain. After all, it's got all the good stuff in it, calcium, vitamins, you name it. So far, I've mainly used it in place of water when bread baking. However, I'm also planning on trying some of these super-healthy whey drinks. Apparently they're not considered yummy but I want to find out for myself.


Homemade Quark (Curd)

The ingredients

1 litre milk (whole milk or fat-reduced, long-life works as well)
60g buttermilk

equipment:
big jar with lid
fine-meshed sieve (with a hook to rest on a bowl)
cheese cloth
big salad bowl

1
Pour the buttermilk into the jar, followed by the milk (this way, you don't even have to stir it). Cover with lid and let stand at room temperature for 48 hours. The milk will have gotten thick earlier than that but I usually let it sit for full two days.

2
Heat the buttermilk-milk mixture for 1.5 to 2 hours to a temperature of 30-35 degrees Celsius. (This is roughly body temperature, to check without a thermometer simply stick your - washed - finger in and judge by yourself.)

For this step, I use my oven. However, it's pretty off and I have to use the fan-bake setting at 75 degrees Celsius to get the desired temperature - that's why you should check.

After that time, the whey should have separated from the curds and will partly float as a yellowish-greenish liquid on top.

3
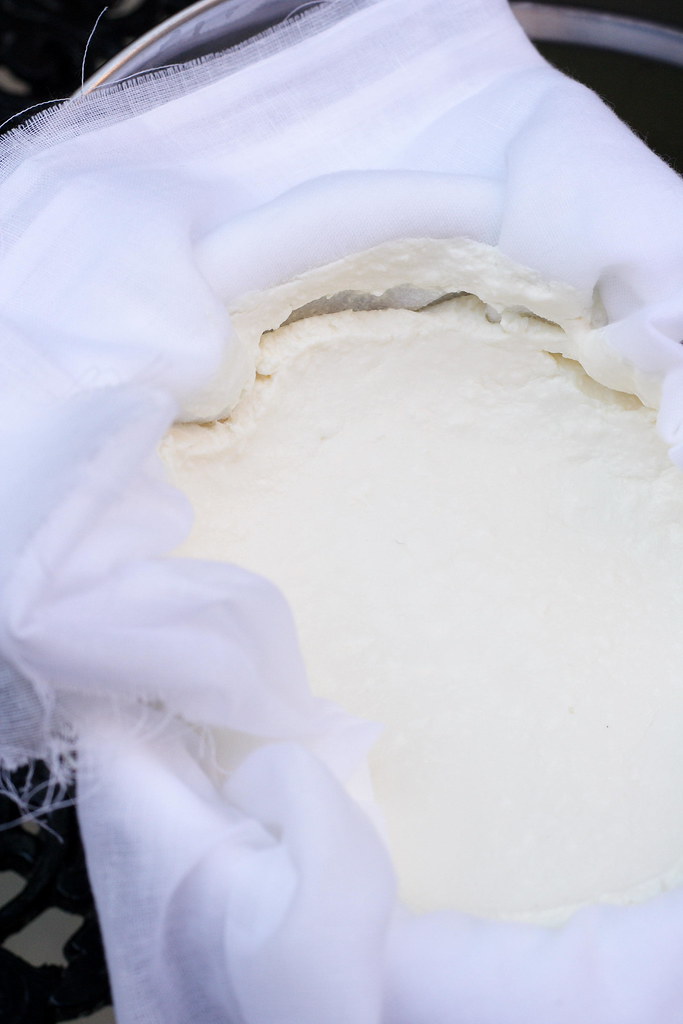
Line the sieve with a cheese cloth (I use mine folded four times) and hang it on top of the bowl. There should be at least 5 centimeters of space between the bottom of the sieve and the bottom of the bowl.

Carefully pour the thickened milk into the lined sieve (it'll splatter) and let drain for 2-4 hours - depending on how firm you want the curd to be. In case it's too dry, simply stir back in some of the whey from the bowl.

4
Refrigerate curd and whey. Use within 5 days.

The source
www.marions-kochbuch.de

Saturday, 31 May 2008

Best Brioche ever…


…says Melissa of Traveler’s Lunchbox. And I can’t tell you how right she is. When I saw her recipe for the first time – in August 2006 – I knew I had to make it some day. Due to its rather elaborate nature…well, let’s not make excuses. Fact is that this particular recipe sounded so promising that it would pop up in my memory every now and then, reminding me of “You need to make this”. And this can’t be said of all the recipes I’ve saved over the years.

I’ve always been in love with all sorts of yeast dough, especially when having it for breakfast with a thick smear of butter and creamy honey on top. Funny enough, until today I had never made a real brioche. However, a similarbreakfast treat always was kind of a by-product when churning out trays full of sweat yeast dough covered in fruit and streusel.

Only once per year we would eat something bakery-bought that’s similar to brioche – it’s called “Spitzl”, a regional specialty known only in the Upper Palatinate (of course, this is a severe case of "same same but different" as these kinds of sweet yeast bread exist allover Europe - but let's not digress). The sweet yeast bread I'm talking about is rich, soft, and speckled with raisins. It's traditionally a present from godfather or godmother to their respective godchild given on All Saints’ Day. Naturally, the one who got the longest braid (up to a meter or so) would have the coolest godmother or godfather of all.

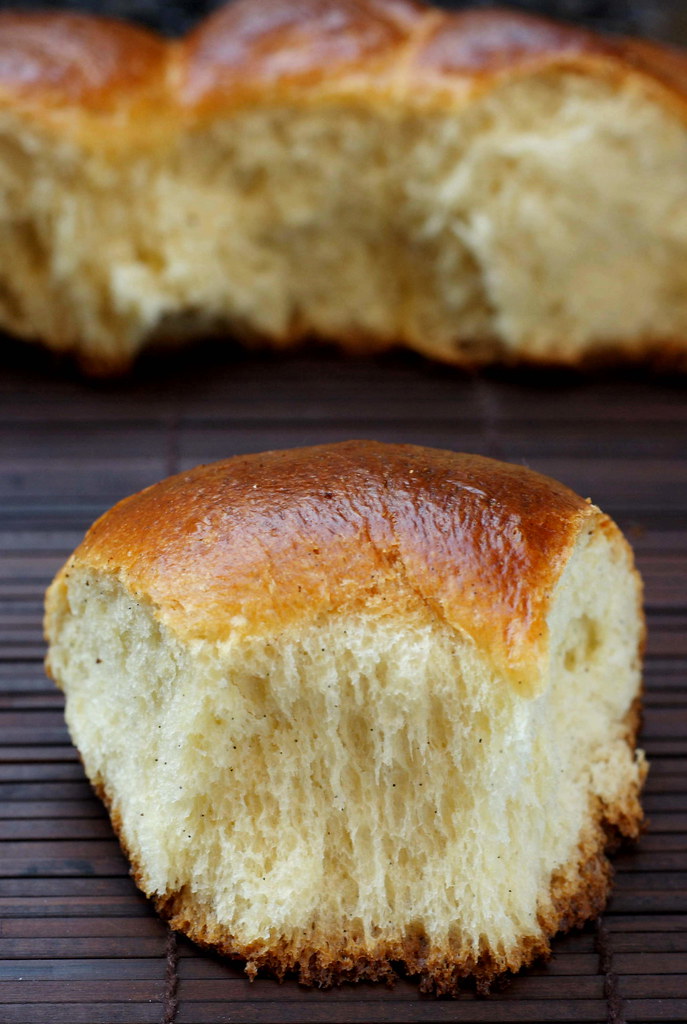
Whilst I wouldn’t say that the taste of these braids surpassed the flavour of our home-made goods, they had one big advantage: Their texture was singularly beautiful – when pulling apart or biting into it, the bread would separate into long strands rather than small crumbs. For some reason that was unknown to me back then, I was never able to achieve this superior texture when baking at home.

Hence my enthusiasm when I saw Melissa's recipe claiming to have solved the mystery. I followed her instructions to the t which resulted in the most shiny, satiny, velvety smooth, and super-elastic yeast dough I’ve ever made. By the way, her technique of browning the butter with the specks of two vanilla beans filled the entire kitchen with such an enticing smell that I could hardly hold myself back - all I wanted was diving right into that perfumed butter, with a big spoon, that's how good it was.

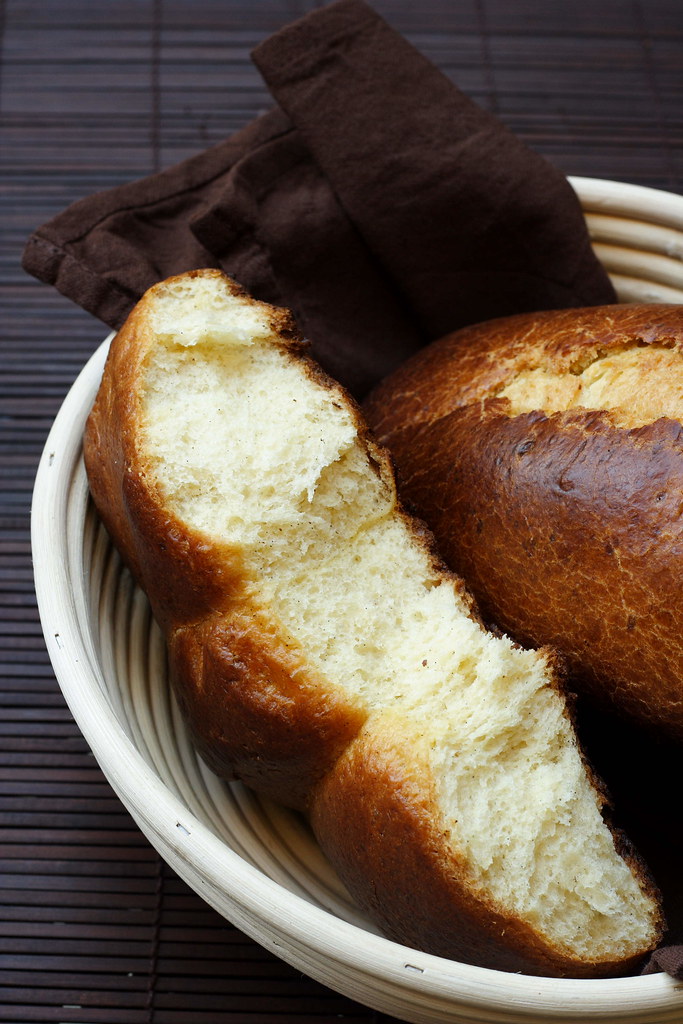
Luckily, I managed not to do anything silly and, the next day, pulled two shiny, golden brown loaves out of the oven. Unfortunately, I did not have my camera with me and had to wait a day before taking pictures. As Melissa says, the brioche is best eaten on the day it is made, and the texture will change with time. That's why the photo above doesn't really show these sublime strands of dough anymore. But I swear they were there - just go and try for yourself!

PS: Although this brioche isn't my regular breakfast fare, I wish it was and that's why I submit it to Bread Baking Day #10 - a food blogging event invented by Zorra and this month hosted by BakingASweetLife.

Thursday, 29 May 2008

Daring Bakers do Opera Cake...


...even if it doesn't look like one... Finally, I've been able to participate once again in one of the Daring Bakers' Challenges - and what a challenge! This time, it wasn't nothing less than the classic opera cake that we had to try our hands on. Usually I would shy away from butter cream laden desserts, however, when I saw this challenge I knew instantly who to feed it to. This month, my now-husband was finishing the four-year trial called PhD and I had planned on baking cake for his research lab to eat after the public thesis defence. This super rich recipe seemed to be exactly the thing if you want to feed loads of people (but to be sure I made a red wine dark chocolate cake as well - these engineers can eat a lot).

I started with the joconde two days before - after all, I couldn't risk running late and keeping him awake while trying to finish it. The recipe worked like a charm and now I know which one to choose if I ever try again to make a Swiss roll (my one and only attempt resulted in a totally broken sponge base). The only tricky part was dividing the batter evenly as I didn't have two baking sheets. If trying again, I would probably try to get this unbelievable elastic joconde even thinner for three layers.
To moisten, I used a cointreau-flavoured syrup following the Daring Bakers' recipe.

For the filling I wanted to make a Swiss meringue butter cream, simply because I don't own a sugar thermometer and this variation seemed to be the easiest of butter creams. Luckily, again with a little cointreau as flavouring, it also turned out to be the tastiest butter cream I've ever had (and I normally don't like any of them). This recipe was easy to follow and easy to scale down to 20 per cent which all went on the first layer.

Although I would never want to eat white chocolate on its own, I love white chocolate mousse and the one from the Daring Bakers' recipe was no exception. I doubled the original amounts and used it all to cover the whole cake. As my filling to cake ratio was a bit off the mark, I decided to only pipe some of the white chocolate glaze on top instead of covering the cake or it would have been too sweet for me (besides, my glaze turned out rather stiff anyway).

Only much later (and despite reading the recipe several times) it dawned on me why my concoction wasn't looking like an opera cake at all - I had forgotten to cut the joconde properly to make a smaller cake with three layers! Too bad but I know that I wouldn't have been able to cut dainty, slim slices anyway. While cutting away, T was being questioned by his reviewers and although I was sure that he would pass the whole thing splendidly (which he did), I was the nervous one of us both (so nervous in fact that I couldn't get a decent photo). Well, better this way than the other way round...

Anyway, everyone loved this opera cake despite its homely appearance. Here you can see what it should have been looking like. Check out the recipe at the host's and the two co-hosts' blogs as well as the results of all the Daring Bakers members! This month's DB edition is dedicated to Barbara of Winos and Foodies and her event The Taste of Yellow in order to promote Lance Armstrong's LiveSTRONG foundation - that's why we changed from the traditional coffee-dark-chocolate opera to this light-coloured version!