Google
 

Friday, 27 June 2008

Buttermilk Cake with White Chocolate and Dried Apricots


Here comes another quick treat with the potential to brighten up a rainy weekend (unfortunately a regular occurrence during winter in Sydney). Basically it's the lucky result after trying to make the best use of a couple of leftovers: A few weeks ago, I had lots of buttermilk after this kitchen project, lots of white chocolate after this daunting affair, plus the weak resolve not to eat too heavy a cake this weekend...
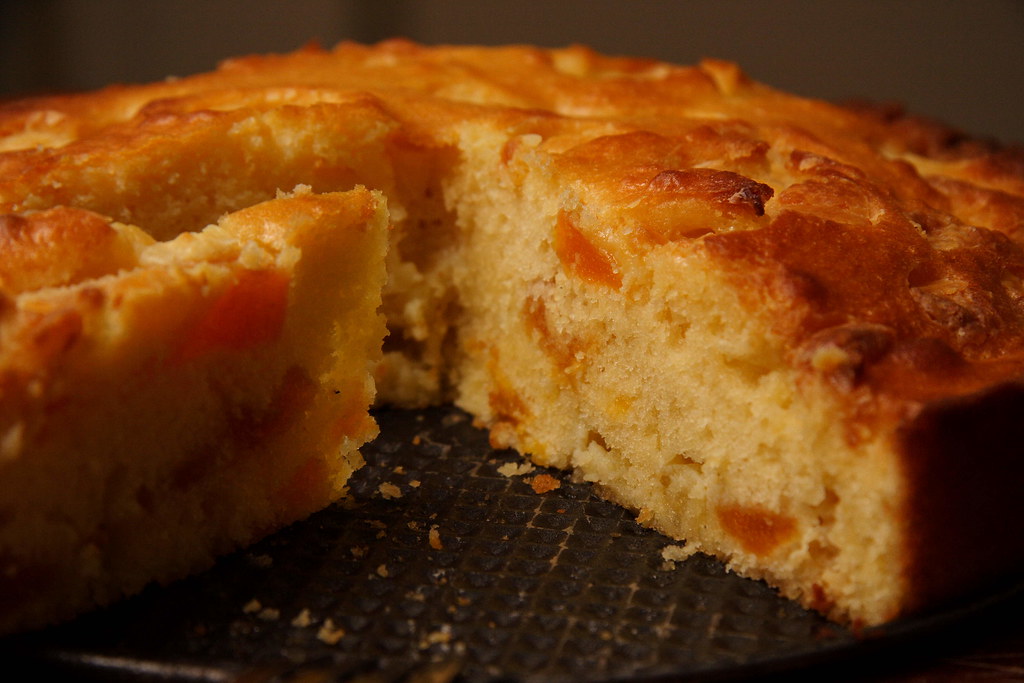

After a quick online research, I used Orangette's version of a buttermilk cake to start out with. The major change was cutting down on the sugar and using more flour and buttermilk at the expense of the butter. Of course I knew that with all my tinkering, the white chocolate would still make for ample richness.

I'm not very experienced in baking with white chocolate and didn't know what to expect. However, this cake exceeded all expectations and proved to be really moreish for everyone who took part in devouring it. The biggest surprise were the white chocolate bits that had touched the pan during baking: They turned into caramelized, crispy, brown bits that were the best part of the cake!

Buttermilk Cake with White Chocolate and Dried Apricots

The ingredients

70g unsalted butter, at room temperature
125g granulated sugar
pinch of salt
1 vanilla sugar
3 large eggs
200g unbleached all-purpose flour
½ sachet baking powder (about 1 tsp)
125ml buttermilk
150g dried apricots, chopped
Lots of white chocolate, cut into chunks (at least 150g)

1
Briefly rehydrate apricots in a splash of boiling water. Meanwhile, cream butter with sugar, vanilla sugar, and salt.

2
Add eggs one by one, mixing well in between.

3
On low speed, mix in flour and baking powder. Slowly add buttermilk - the exact amount might vary according to the size of your eggs. The texture of the batter should neither be liquid nor too stiff (I hope that makes sense...).

4
Drain apricots and fold in. Fold in half of the white chocolate. Scrape batter into prepared baking tin, 24 cm in diameter). Sprinkle remaining chocolate on top.

5
Fan-bake at 150 degrees Celsius until golden on top and a wooden skewer inserted into the middle comes out clean (30-40 minutes).


The source
Loosely based on Orangette's Buttermilk Cake

The hint
I've also made this cake with fresh or tinned fruit instead of the apricots and white chocolate. Whitout chocolate, this cake is wonderfully light and fluffy - and finally counts as diet food which is not a bad thing in this particular case. However, this version is best eaten on the day it is made. Otherwise you could restore moistness by brushing it with a little syrup.
Monday, 23 June 2008

Ideas with Quark


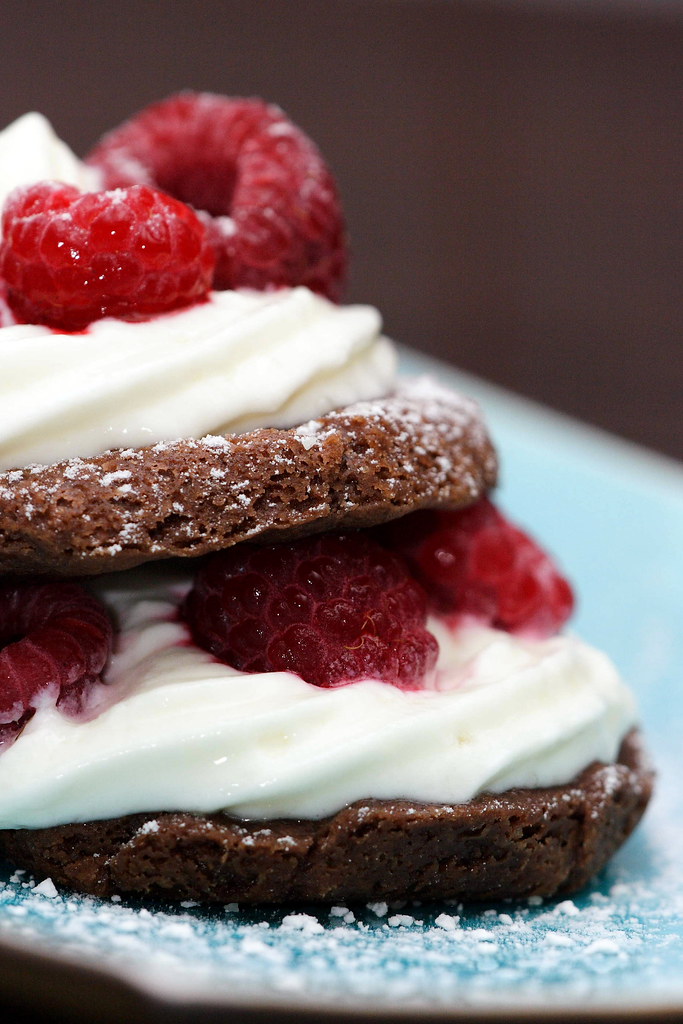
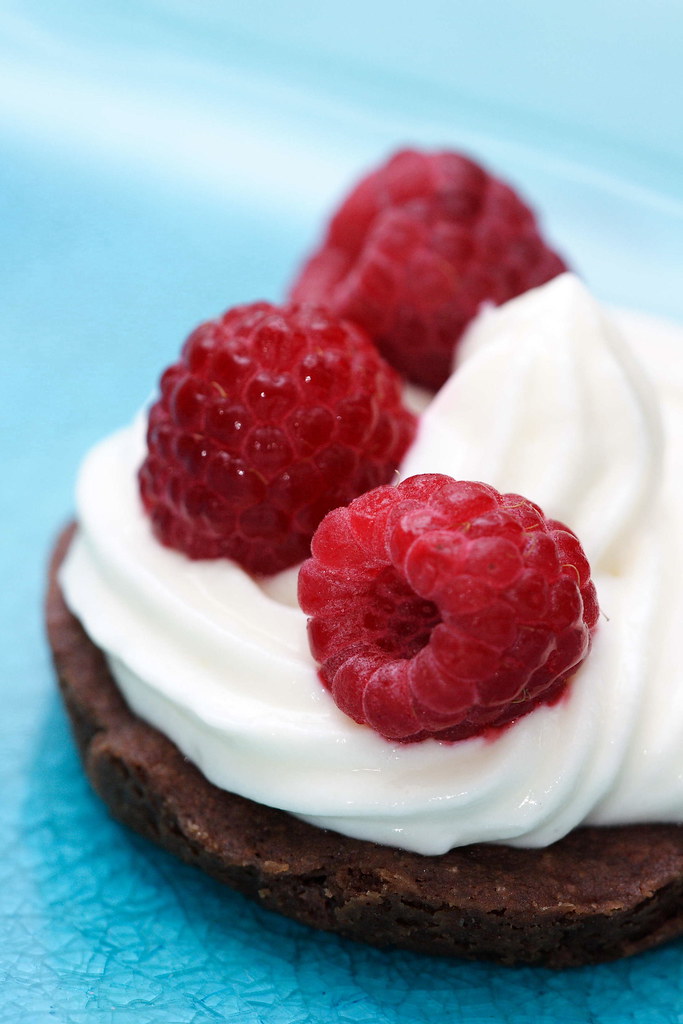
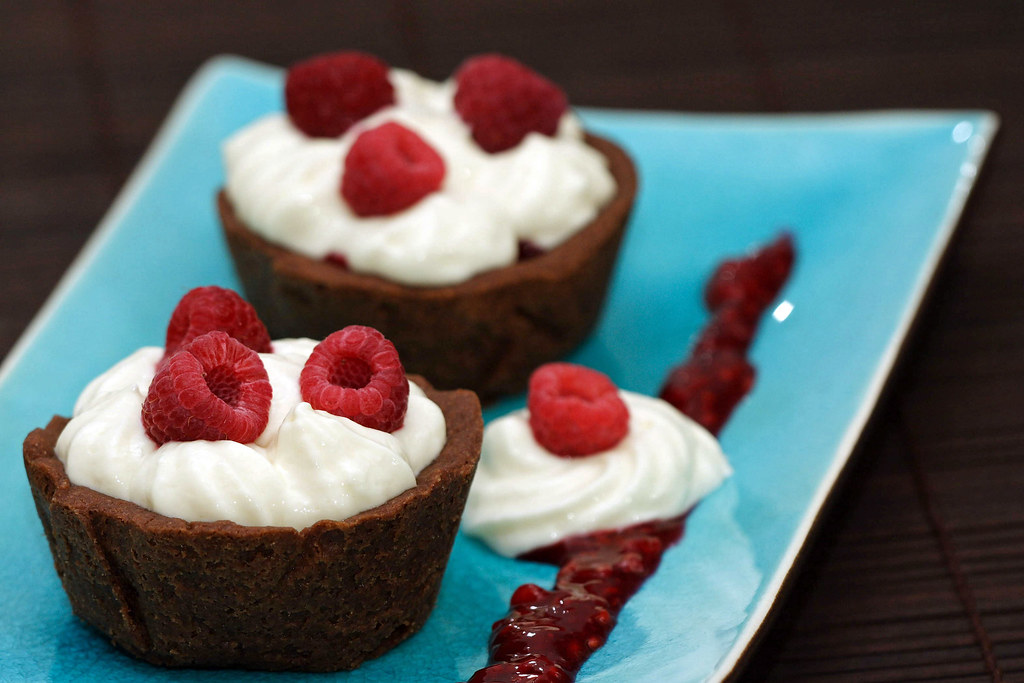
I guess it's time to see what I do with all the quark I've been making recently... The following isn't so much a recipe but rather an idea that might lead you to think up your own instant dessert. During one of the previous weekends, the urge to have a little sweet bite after dinner was positively unbearable, and I remembered having some chocolate shortbread dough and raspberries in the freezer plus newly made quark in the fridge. Dessert was only a matter of minutes.

I lined my muffin pan with small sheets of baking paper and the dough and (after a brief stint in the fridge) baked it at 175 degrees Celsius in a preheated oven (not fan-forced). Baking time varies according to size. However, once the pastry looses its shine, it's partially cooked so I then gave it another 5 minutes. Of course, these little tartelettes benefit from blind-baking but I simply poked them with a fork to deflate. Almost as pretty..;-)

Whilst the tartelette cases cooled down, I selected a few nice big raspberries to thaw on a paper towel. The others went onto the stove and got cooked with sugar and a splash of white wine to release their juices. One teaspoon of cornstarch, dissolved in some white wine for thickening. And one tablespoon of cointreau to accentuate the fruity taste.

The raspberries filling went into the tartelette cases first, then the quark filling on top. It's not quite stiff enough to allow for proper piping so you might want to add some gelatin. I ended up with the Leaning Tower of Pisa but who cares anyway.
This filling actually benefits from sitting in the fridge for a day to allow the flavours to mellow. When filled the tartelettes will hold up nicely for a couple of hours but we were too greedy to wait very long..;-)

Maybe you want to give these little tartelettes a try during the next weekend? I imagine the quark filling will pair well with any kind of berry or poached fruit combined with plain, chocolate, or a nutty shortbread base.

PS: Due to a lucky coincidence in topic, I just realized that I'm able to participate with my tartelettes in this month's "Waiter, there's something in my... Berried Treasure!" hosted by Cooksister. Well, quark in my case..;-) If you happen to make something berry-related, there's still time to take part in this event!

Chocolate Shortbread Tartelettes with Quark and Raspberry Filling

The ingredients

100g quark
100g fat-reduced cream cheese
1 tbsp fat-reduced cream
1 tbsp cointreau
1 tbsp vanilla sugar
More sugar according to taste

Mix everything together and sweeten to taste. It will be thick but not stiff.

(You see I tried to make a slightly healthy-version that luckily tasted just as delicious as its fatty cousin. However, if you're not trying to shed a few grams, don't hold yourself back!)

200g frozen raspberries
splash of white wine
sugar to taste
1 tsp cornstarch
1 tbsp cointreau

The yield

This filling is enough for four muffin-pan-sized tartelettes.

The source

My own invention

Wednesday, 11 June 2008

Making my own Quark - finally!


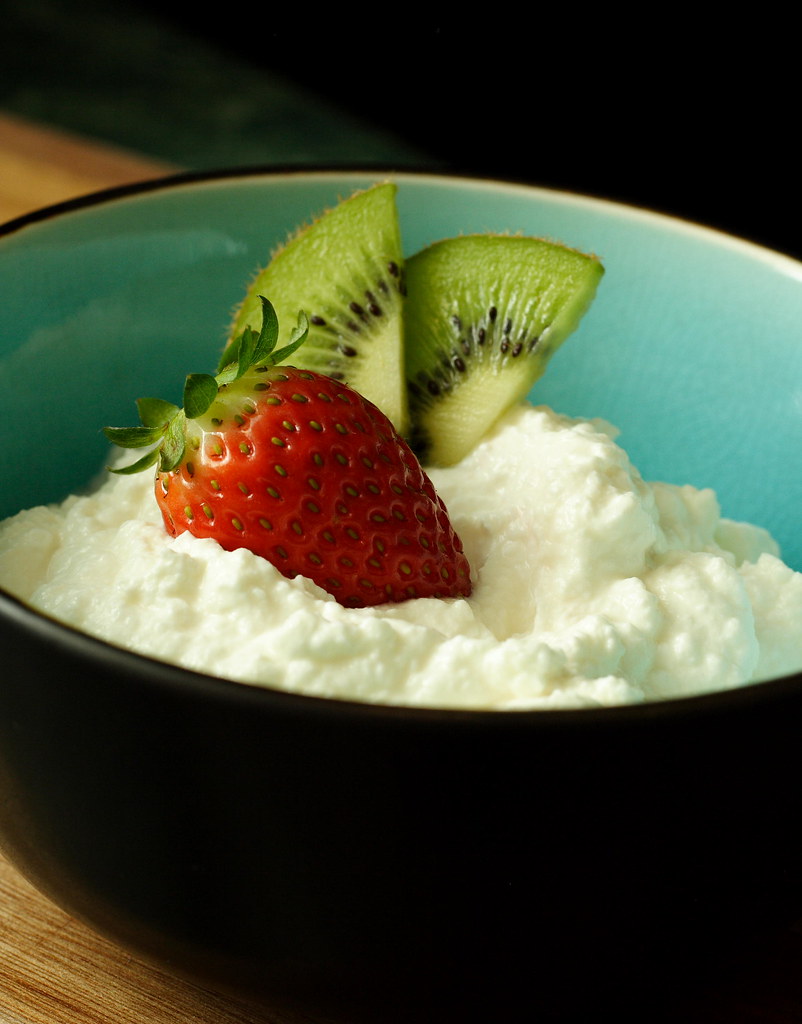
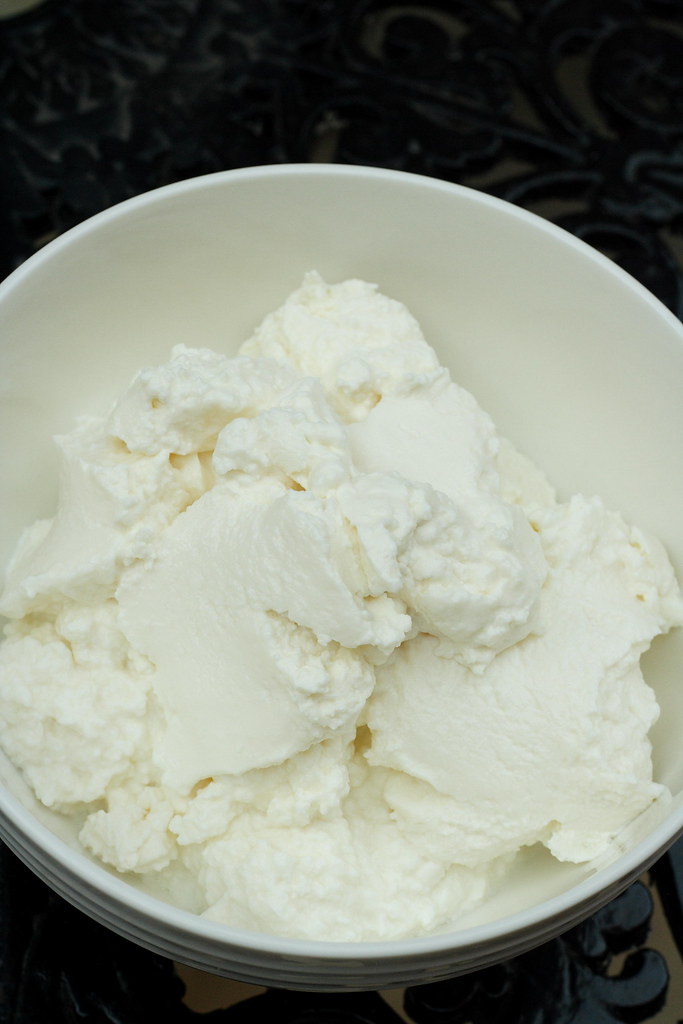
For all my constant whinging about not having German-style quark at my disposal, it has taken only about two and a half years to finally make my own. As usual, once you've started a new kitchen project that turned out much easier than you'd ever thought, you end up asking yourself why on earth... Well, no matter what, all my thanks go to Nora who gave the necessary cheese cloth to me (and it still took me a couple of months)!

Now, however, I definitely caught the quark-bug - pretty much every week since the first time, there's a big jar of milk sitting on my kitchen counter - slowly turning itself into something delicious...

After looking around online for a while, I found this recipe which seemed to be the easiest one. Indeed, all you have to do is throwing the two ingredients together, wait for two days, heat it up a little and then let it drain. Voila, there's no more quark deprivation in this household!

The resulting quark can be used for this cake, or this cake, or maybe this cake... Or add some whipped cream and macerated berries... Or make quark souffles... Or simply use it in place of butter on toast with honey or jam... Its tangy taste will cut down the sweetness of regular desserts ever so slightly, giving it a new dimension in taste without turning it into something too tart. The possibilities are endless!

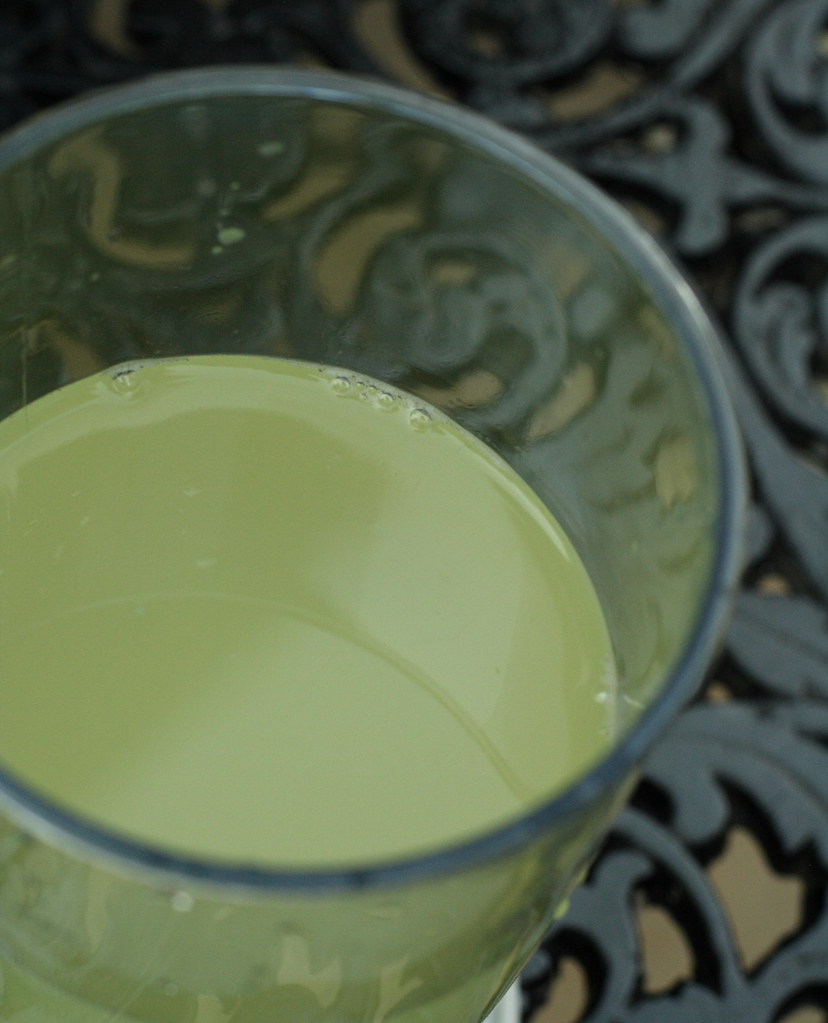
PS: You will also get a lot of whey that shouldn't go down the drain. After all, it's got all the good stuff in it, calcium, vitamins, you name it. So far, I've mainly used it in place of water when bread baking. However, I'm also planning on trying some of these super-healthy whey drinks. Apparently they're not considered yummy but I want to find out for myself.


Homemade Quark (Curd)

The ingredients

1 litre milk (whole milk or fat-reduced, long-life works as well)
60g buttermilk

equipment:
big jar with lid
fine-meshed sieve (with a hook to rest on a bowl)
cheese cloth
big salad bowl

1
Pour the buttermilk into the jar, followed by the milk (this way, you don't even have to stir it). Cover with lid and let stand at room temperature for 48 hours. The milk will have gotten thick earlier than that but I usually let it sit for full two days.

2
Heat the buttermilk-milk mixture for 1.5 to 2 hours to a temperature of 30-35 degrees Celsius. (This is roughly body temperature, to check without a thermometer simply stick your - washed - finger in and judge by yourself.)

For this step, I use my oven. However, it's pretty off and I have to use the fan-bake setting at 75 degrees Celsius to get the desired temperature - that's why you should check.

After that time, the whey should have separated from the curds and will partly float as a yellowish-greenish liquid on top.

3
Line the sieve with a cheese cloth (I use mine folded four times) and hang it on top of the bowl. There should be at least 5 centimeters of space between the bottom of the sieve and the bottom of the bowl.

Carefully pour the thickened milk into the lined sieve (it'll splatter) and let drain for 2-4 hours - depending on how firm you want the curd to be. In case it's too dry, simply stir back in some of the whey from the bowl.

4
Refrigerate curd and whey. Use within 5 days.

The source
www.marions-kochbuch.de