For all my
constant whinging about not having German-style quark at my disposal, it has taken only about two and a half years to finally make my own. As usual, once you've started a new kitchen project that turned out much easier than you'd ever thought, you end up asking yourself why on earth... Well, no matter what, all my thanks go to Nora who gave the necessary cheese cloth to me (and it still took me a couple of months)!
Now, however, I definitely caught the quark-bug - pretty much every week since the first time, there's a big jar of milk sitting on my kitchen counter - slowly turning itself into something delicious...

After looking around online for a while, I found this
recipe which seemed to be the easiest one. Indeed, all you have to do is throwing the two ingredients together, wait for two days, heat it up a little and then let it drain. Voila, there's no more quark deprivation in this household!
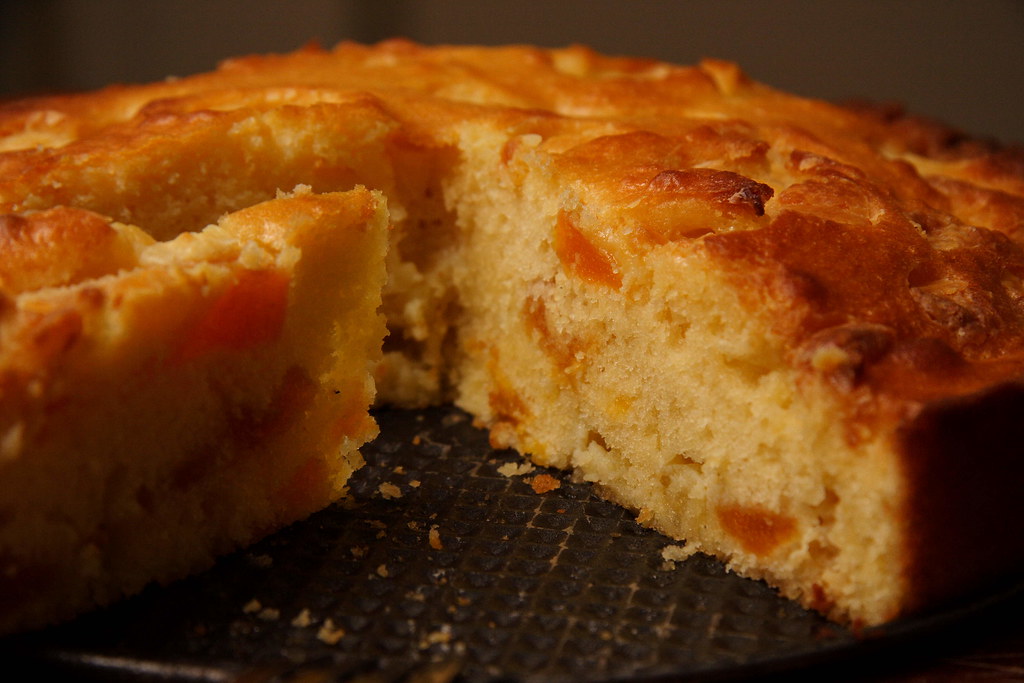
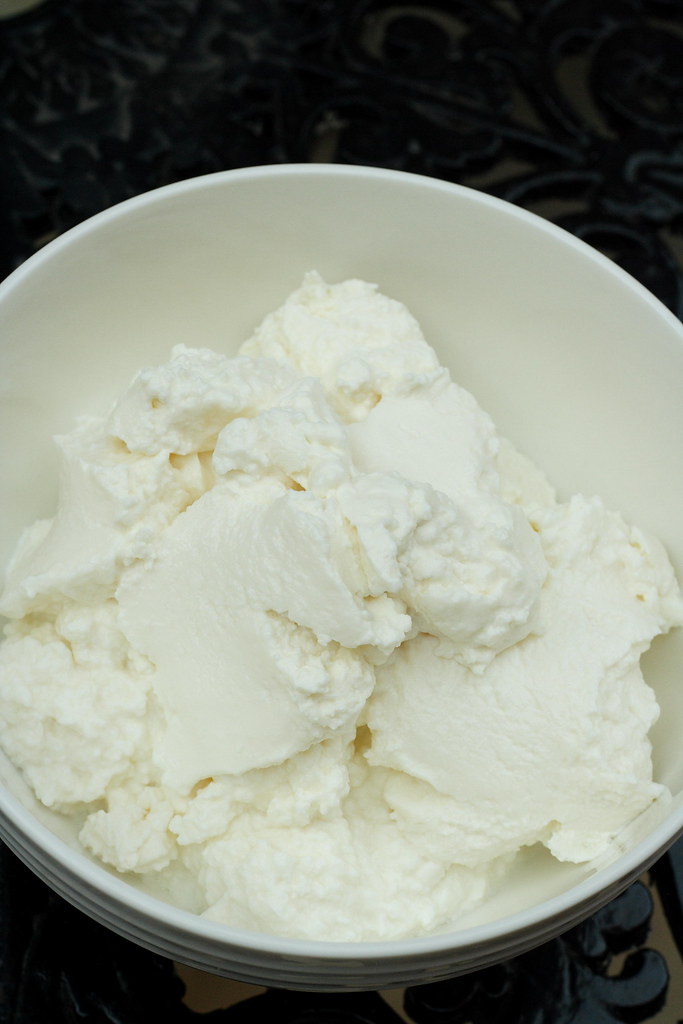
The resulting quark can be used for this
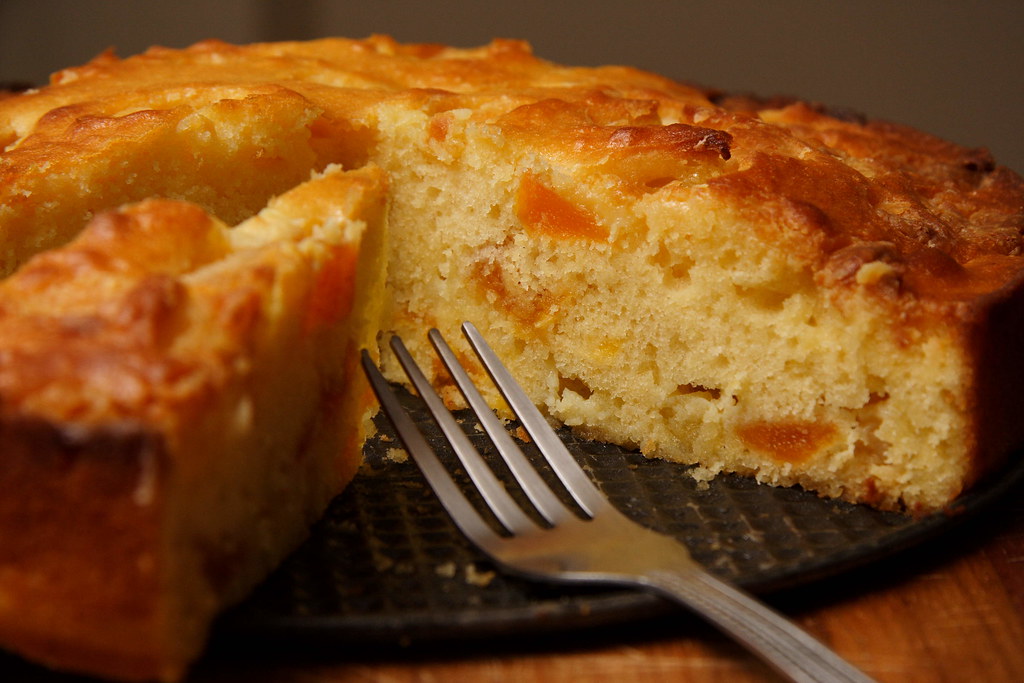
cake, or this
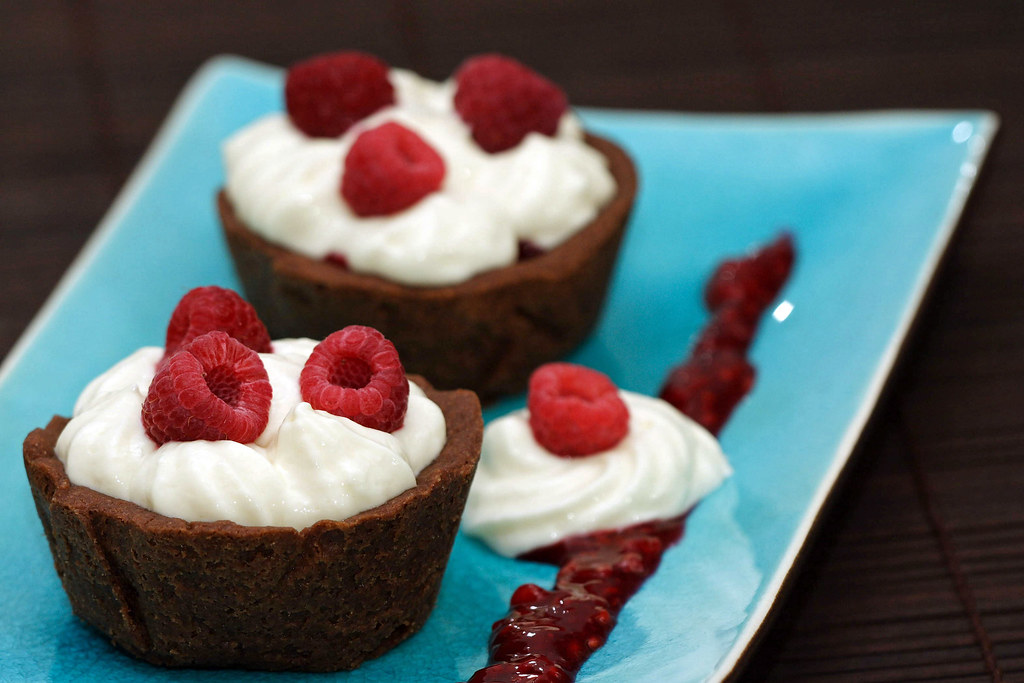
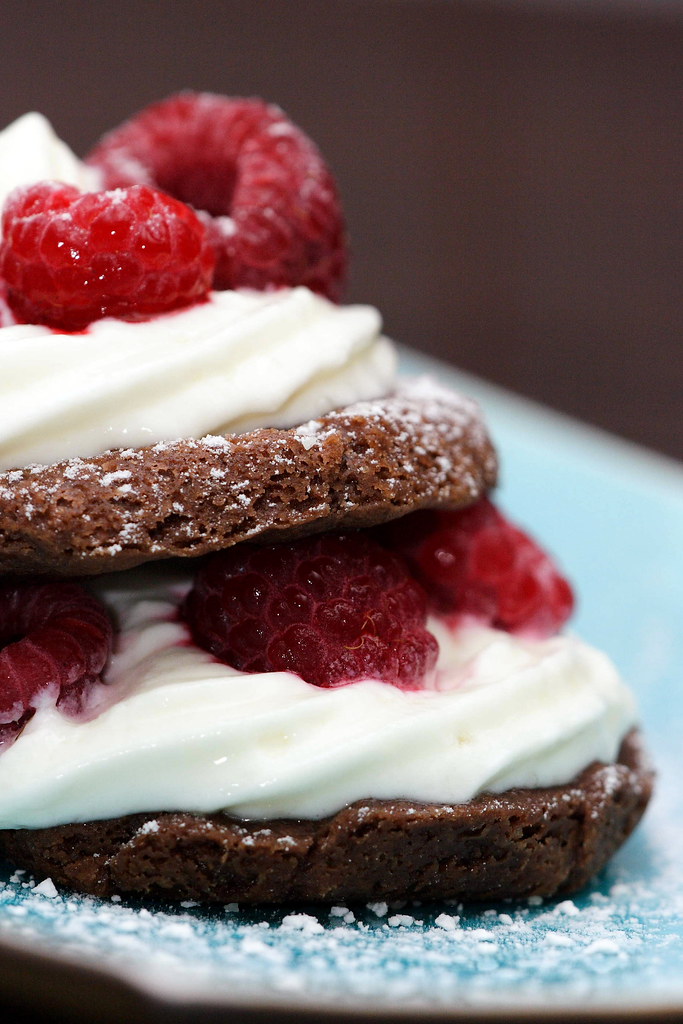
cake, or maybe this
cake... Or add some whipped cream and macerated berries... Or make quark souffles... Or simply use it in place of butter on toast with honey or jam... Its tangy taste will cut down the sweetness of regular desserts ever so slightly, giving it a new dimension in taste without turning it into something too tart. The possibilities are endless!

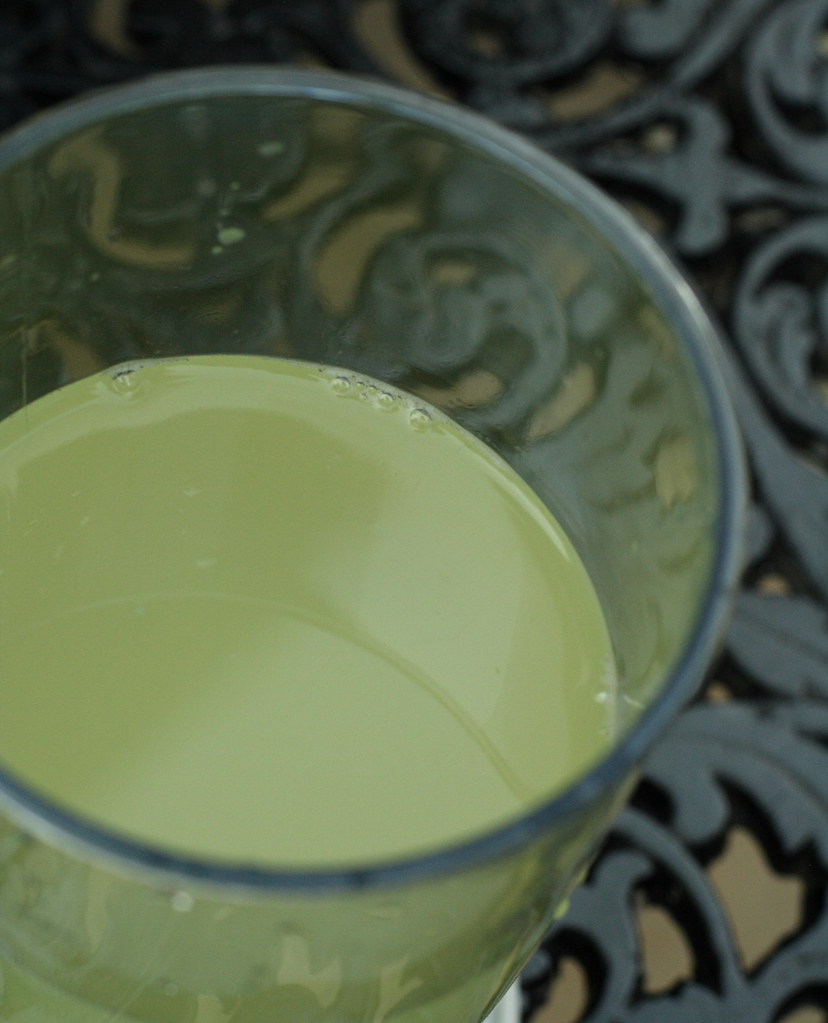
PS: You will also get a lot of whey that shouldn't go down the drain. After all, it's got all the good stuff in it, calcium, vitamins, you name it. So far, I've mainly used it in place of water when bread baking. However, I'm also planning on trying some of these super-healthy whey drinks. Apparently they're not considered yummy but I want to find out for myself.
Homemade Quark (Curd)The ingredients
1 litre milk (whole milk or fat-reduced, long-life works as well)
60g buttermilk
equipment:big jar with lid
fine-meshed sieve (with a hook to rest on a bowl)
cheese cloth
big salad bowl
1Pour the buttermilk into the jar, followed by the milk (this way, you don't even have to stir it). Cover with lid and let stand at room temperature for 48 hours. The milk will have gotten thick earlier than that but I usually let it sit for full two days.
2Heat the buttermilk-milk mixture for 1.5 to 2 hours to a temperature of 30-35 degrees Celsius. (This is roughly body temperature, to check without a thermometer simply stick your - washed - finger in and judge by yourself.)
For this step, I use my oven. However, it's pretty off and I have to use the fan-bake setting at 75 degrees Celsius to get the desired temperature - that's why you should check.
After that time, the whey should have separated from the curds and will partly float as a yellowish-greenish liquid on top.
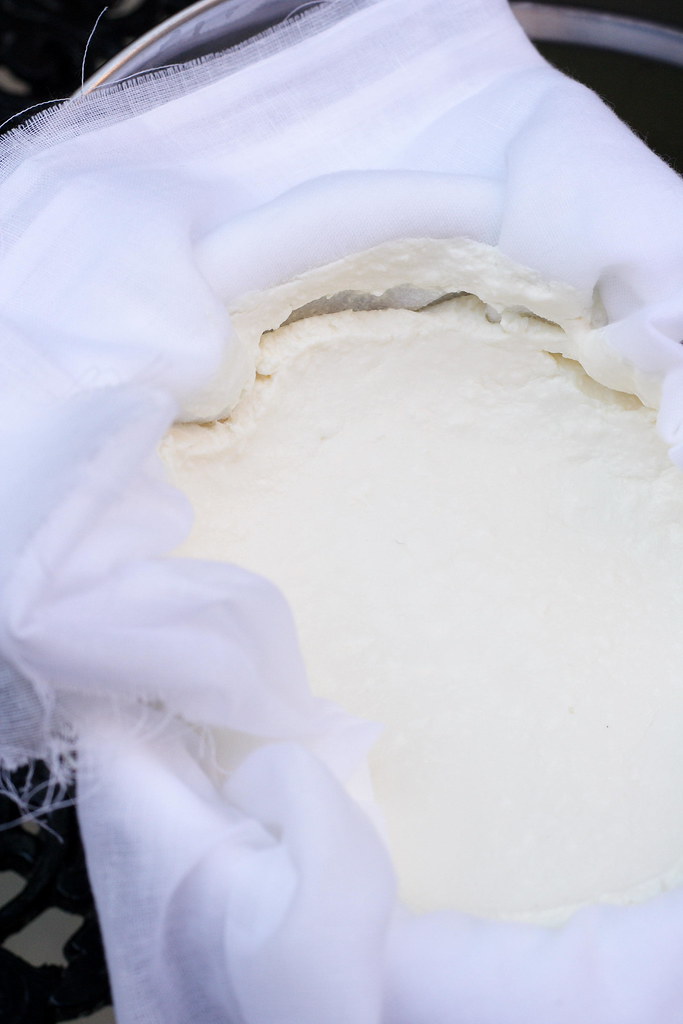
3Line the sieve with a cheese cloth (I use mine folded four times) and hang it on top of the bowl. There should be at least 5 centimeters of space between the bottom of the sieve and the bottom of the bowl.
Carefully pour the thickened milk into the lined sieve (it'll splatter) and let drain for 2-4 hours - depending on how firm you want the curd to be. In case it's too dry, simply stir back in some of the whey from the bowl.
4Refrigerate curd and whey. Use within 5 days.
The sourcewww.marions-kochbuch.de